In a post on December 7, 2011, I shared an altered art book I made one year for my parents’ Christmas gift. You can read about it here. I then posted about a photo box that I decorated with altered art. If you want to read that one, go here.
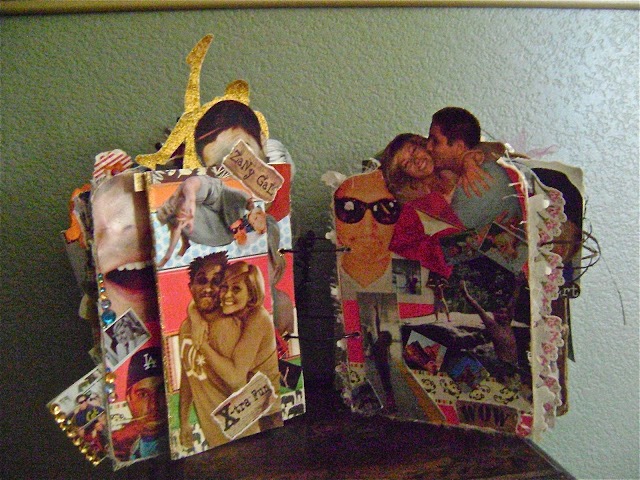
I had planned to do a post about the very first altered art book I ever made, a very simple one for my niece’s wedding. I’ll have to save that post for another time. Instead, I’m sharing one of the last altered art books I made, which was for my daughter’s wedding gift a year ago.
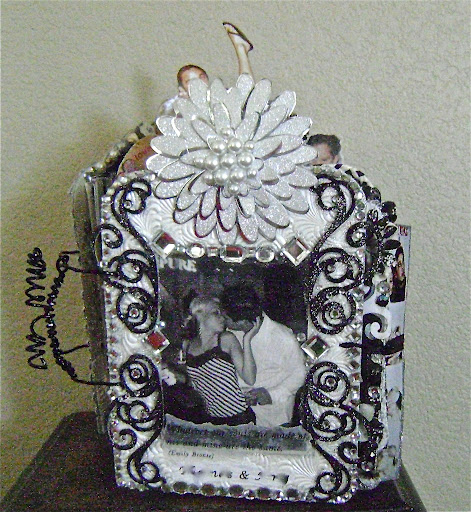
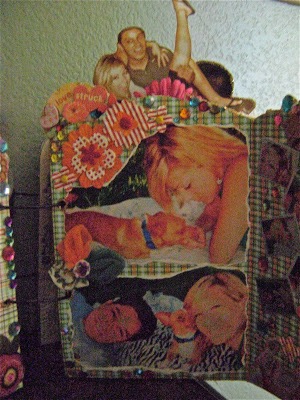
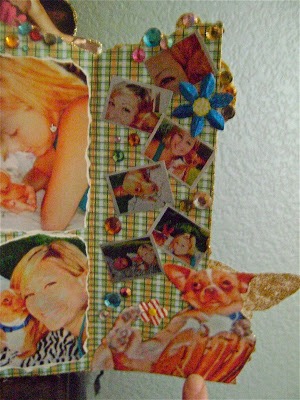
I start with some kind of general theme and idea of what kind of spreads I want. I’ve never taken a scrapbooking class, and I mess up a lot. Part of the fun of altered art is covering up the mistakes. I usually add more embellishments and often end up pleased and surprised with the final look.
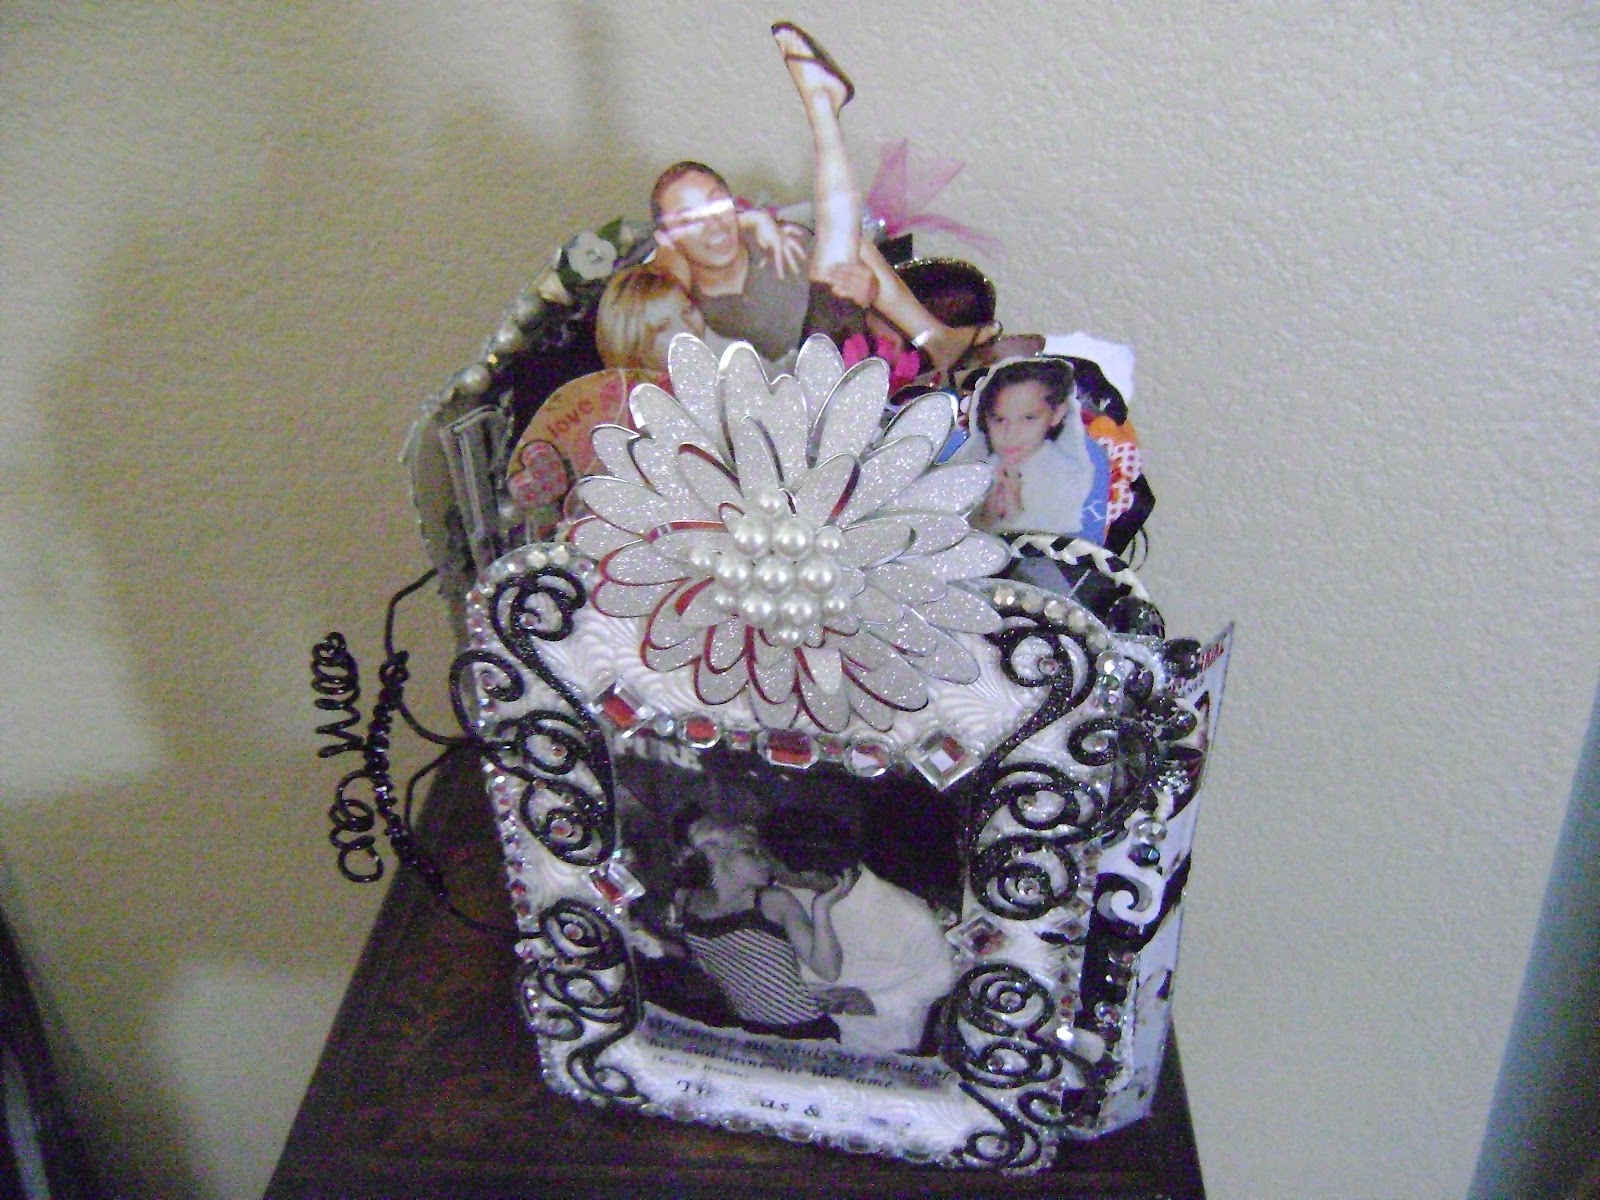
That beautiful pearl and glitter flower at the top of the cover page was purchased at a craft store. I had a 50% off coupon. Those embellishments are expensive and add up fast. I use items from around the house whenever possible, like old greeting cards, book marks, pics from magazines, scraps from my sewing box. Do a scavenger hunt around your house and see what you come up with. You’d be surprised how objects like bottle caps, zippers, and tape measures (cut them down to fit) make cool embellishments.
As an amateur doing my own thing, I’ve learned by trial and error. Altered art is like making a collage, and you can let your imagination soar when choosing the items to use. Vary textures, sizes of pages, and mediums. It’s called ‘altered’ art for a reason.
Each person’s design will reflect their own personalty and talents. For example, do you embroider, crochet, or macrame? Use little snippets of your work in your altered art.
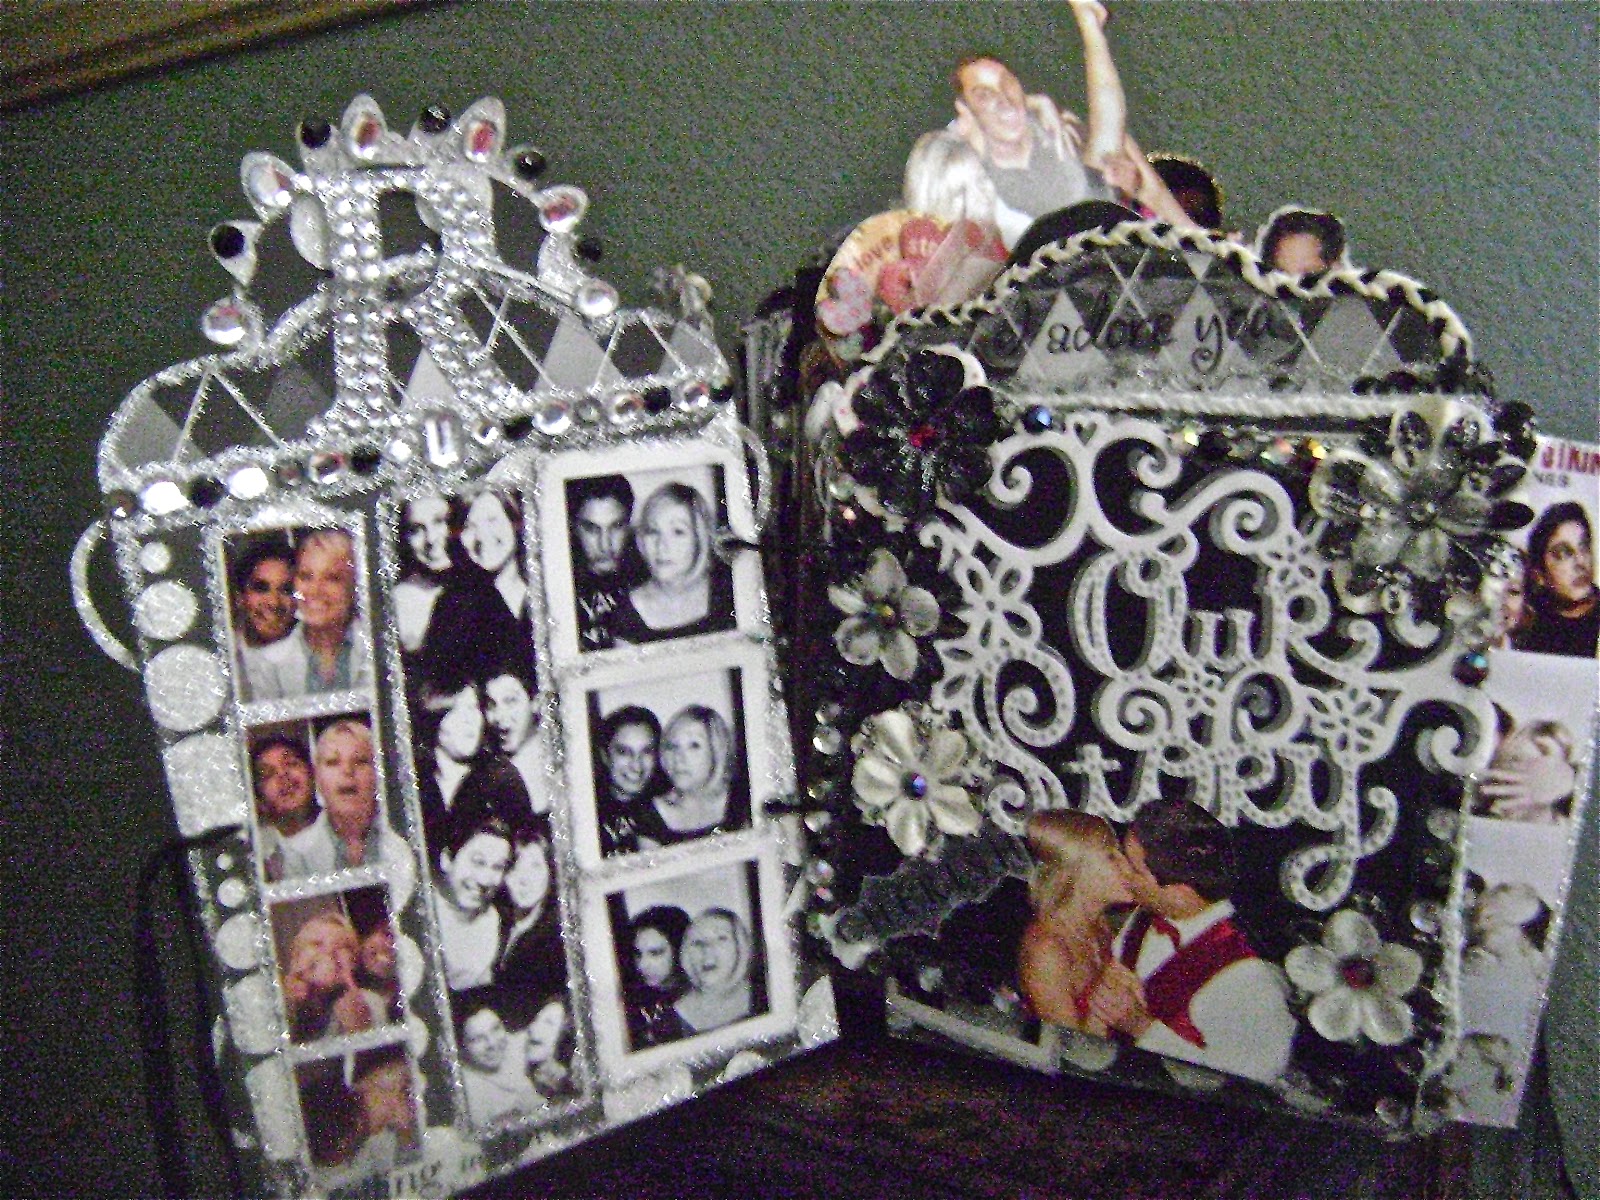
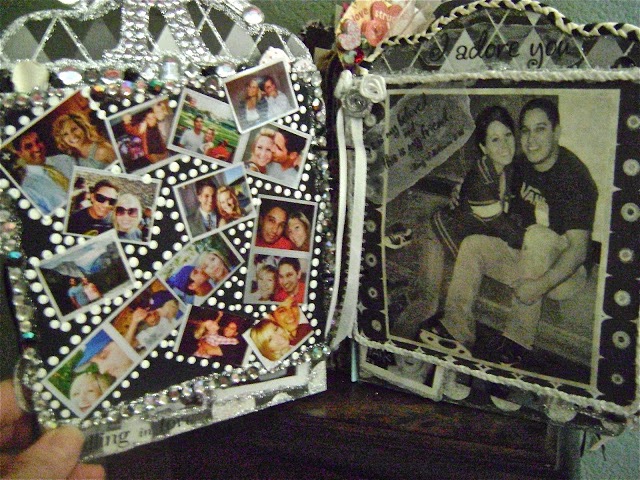
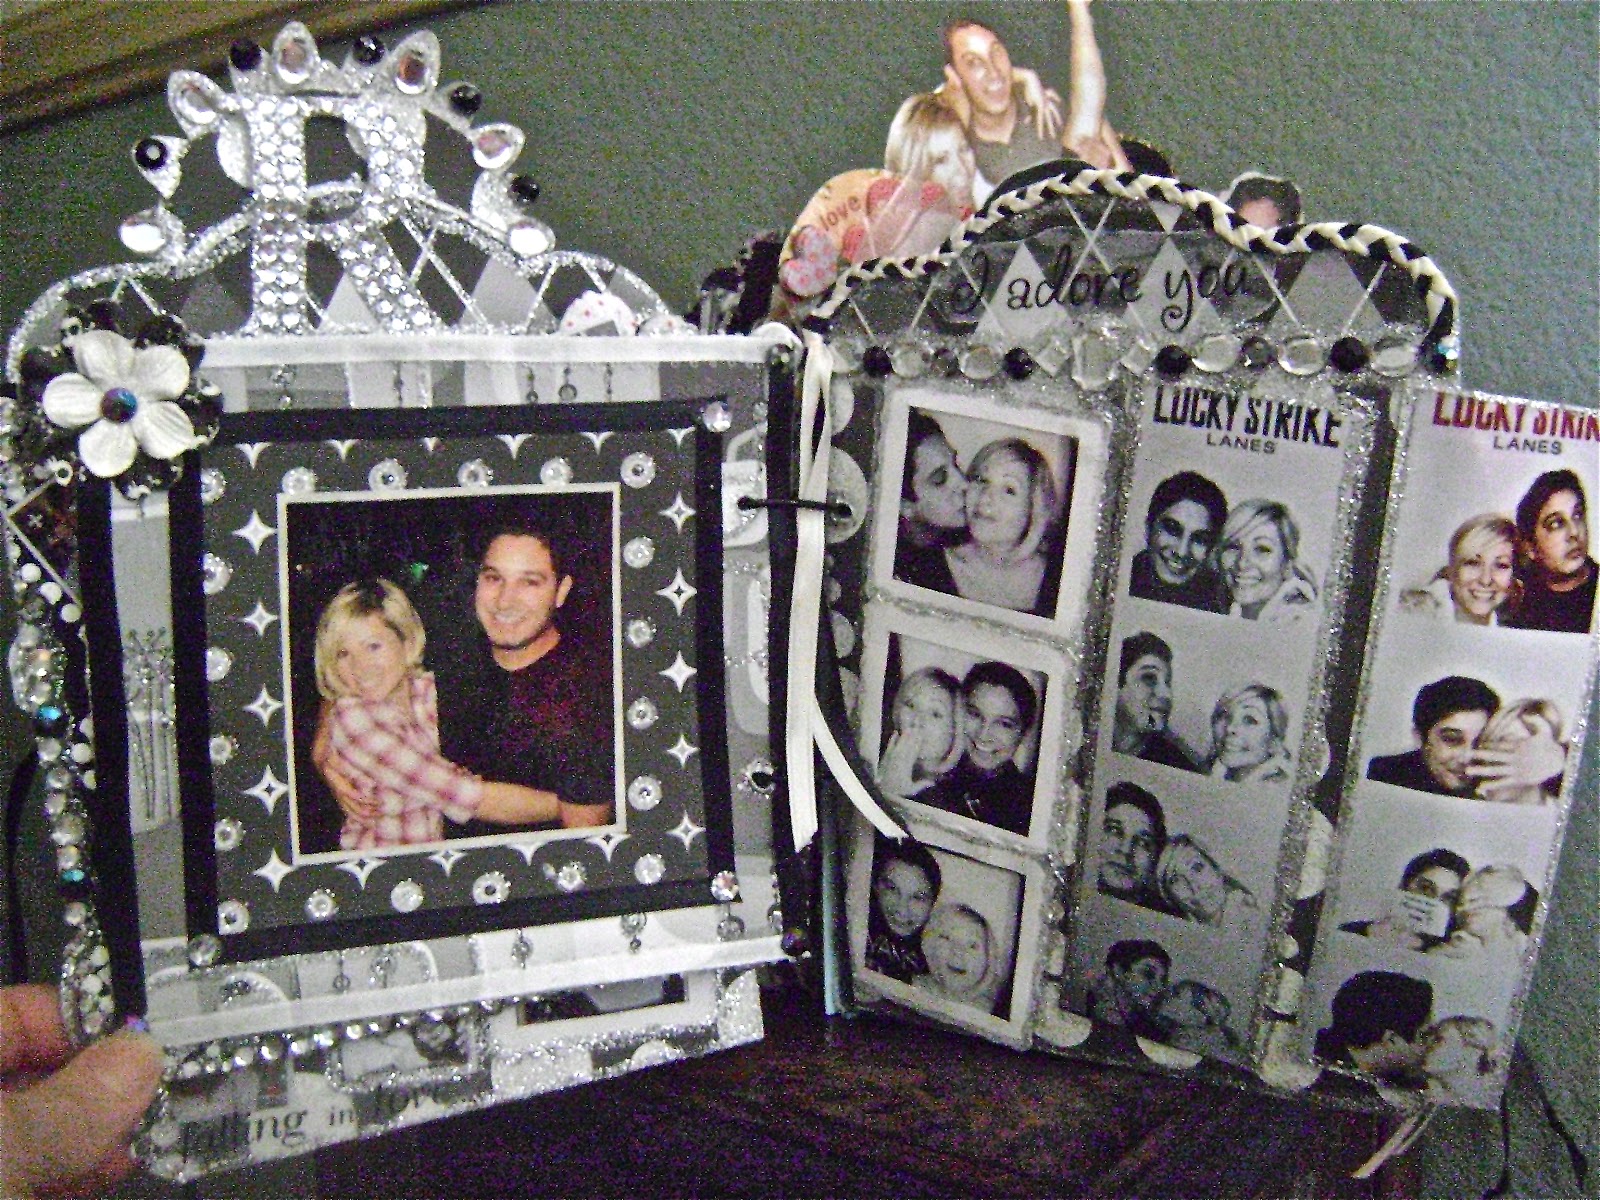
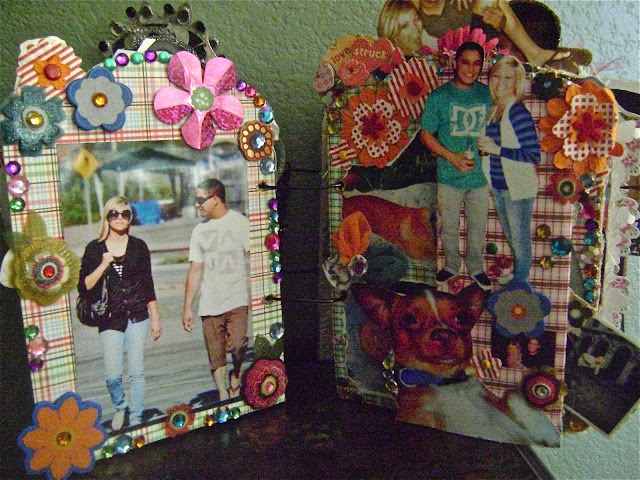
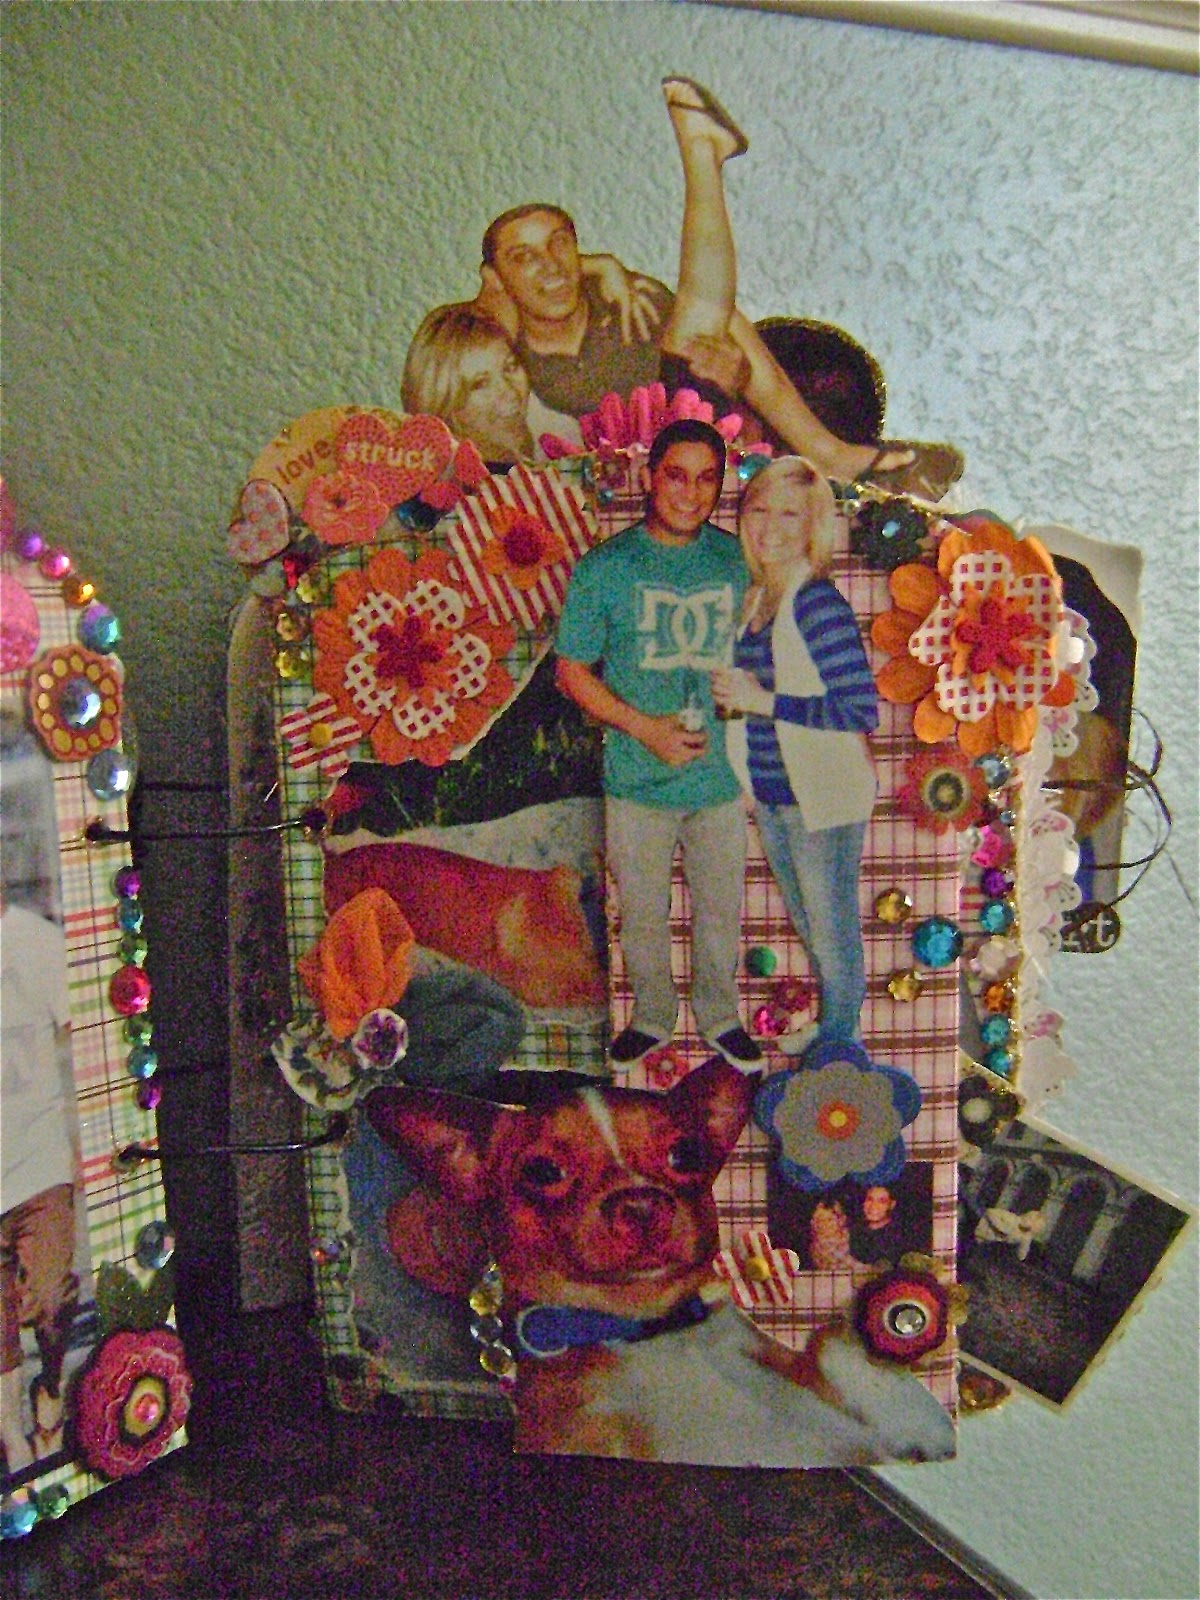
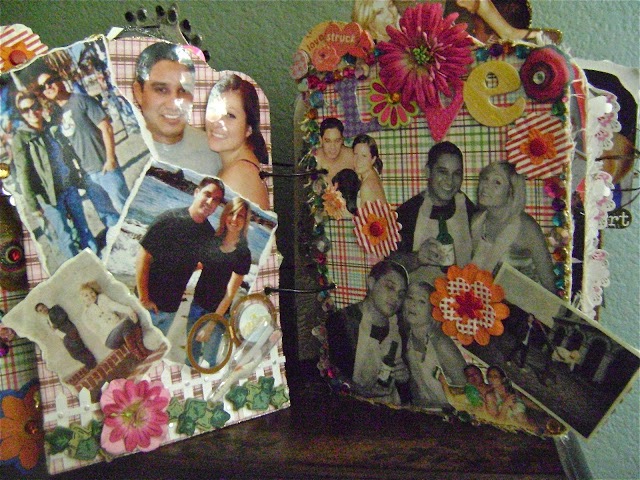
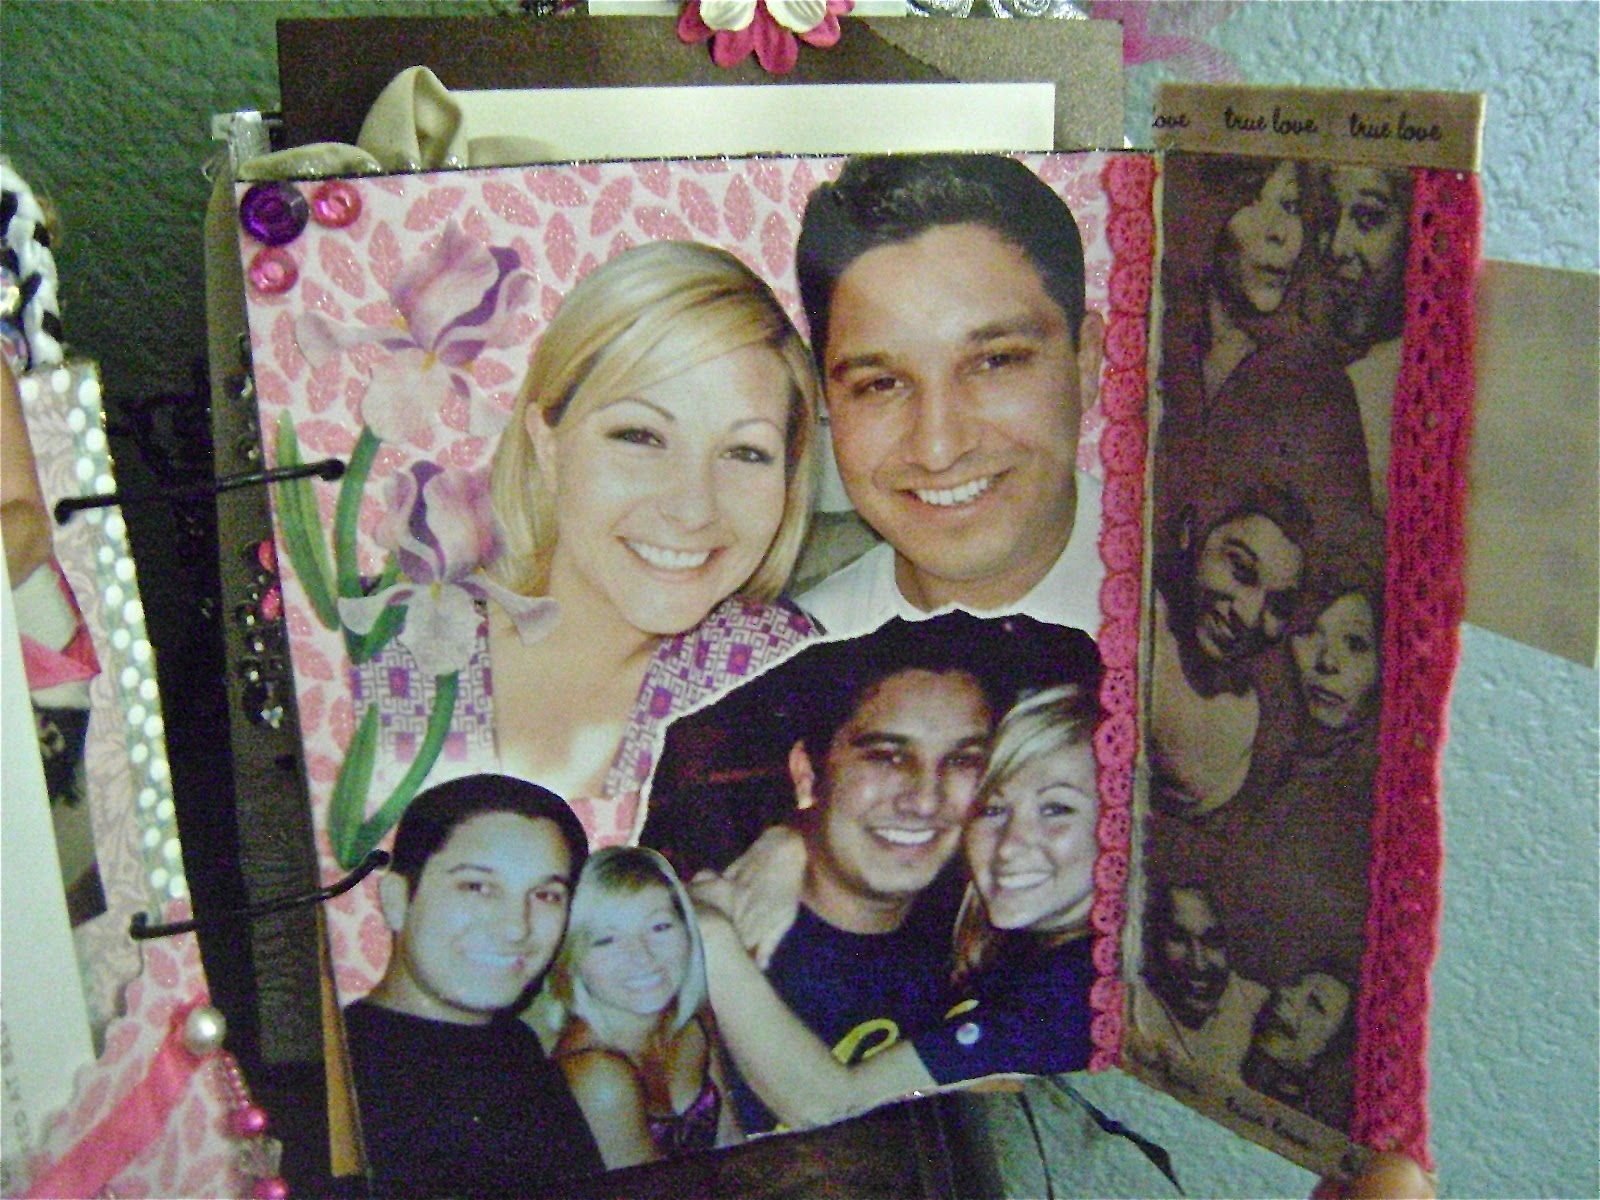
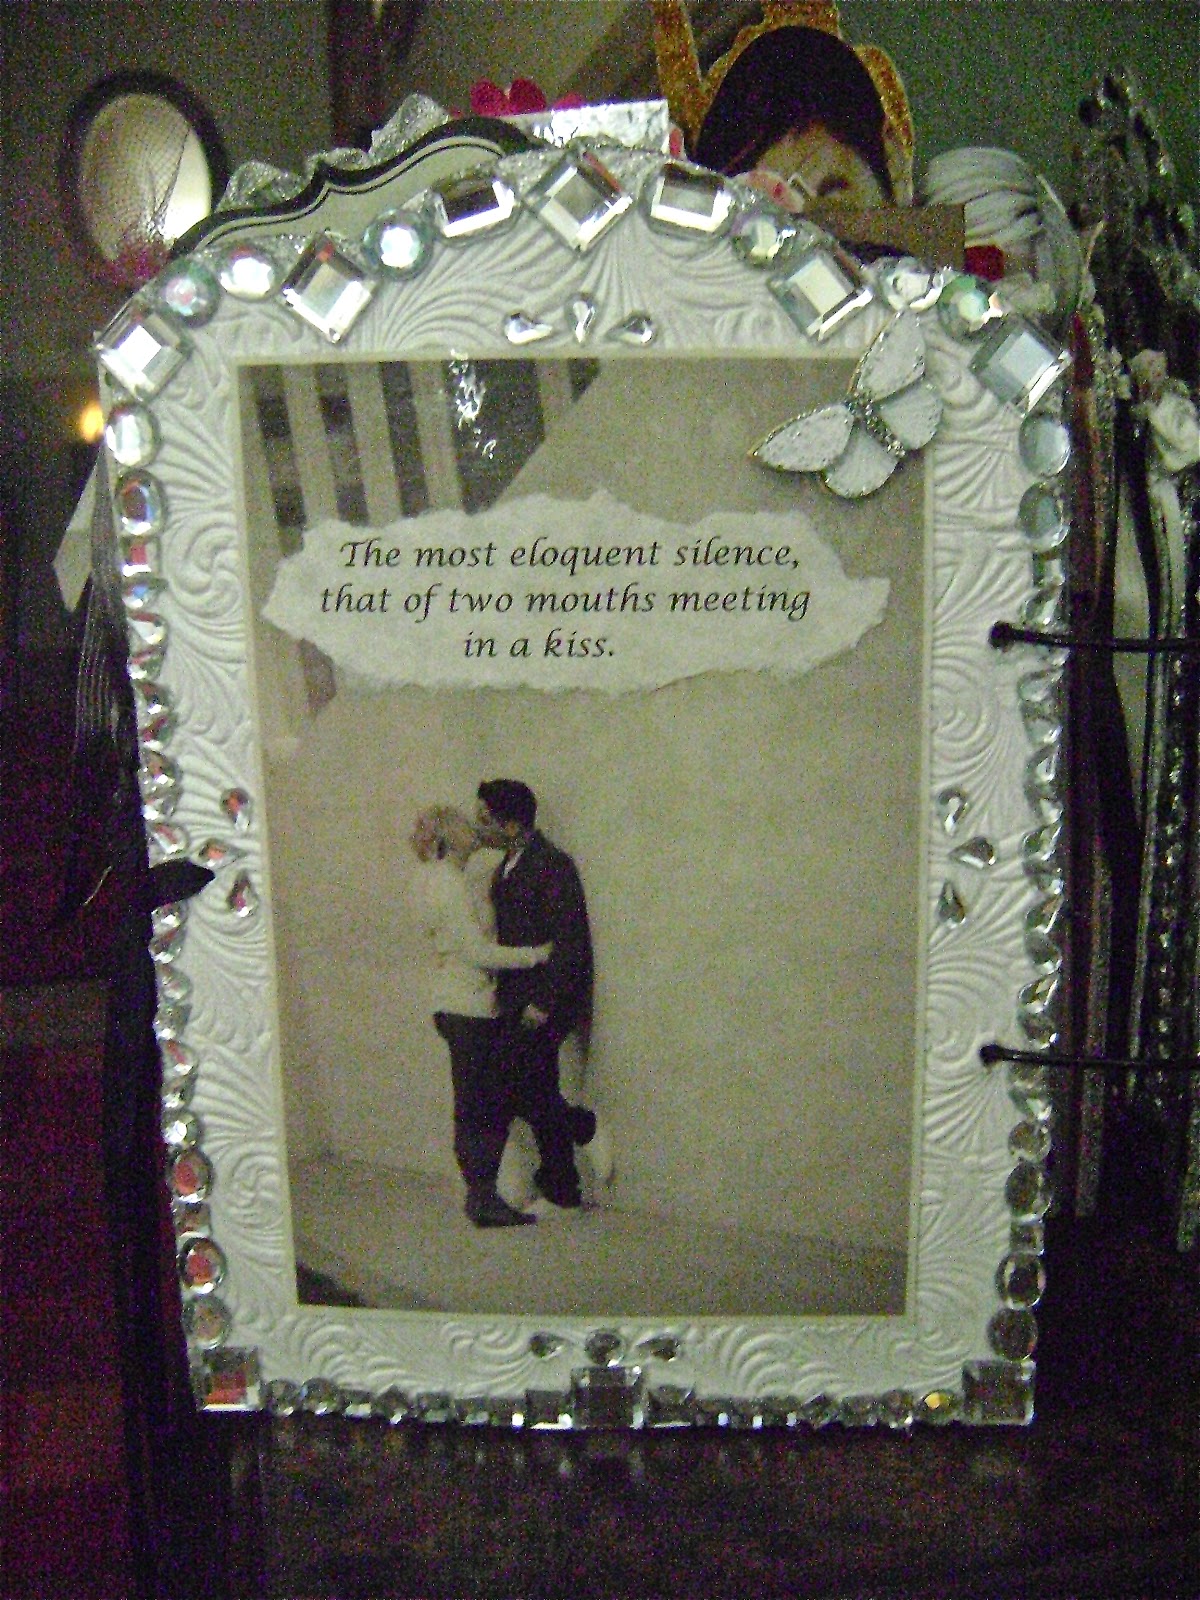
Bartt and Lily (nicknames) dated for five years. Each year they went to a photo booth to have their pictures taken. Copies of those photo booth pics were perfect for this altered art book.
Dots of paint can be used to border pictures. To get perfect round dots, dip the tip of a pencil or the nonbrush end of a paintbrush into a dab of paint. Place the dot where you want it. Dip again for the next dot. I use acrylic paint. It dries fast.
I used an old board book (sanded down the illustrations) for the altered art book I made for my mom and dad. For this project, I used magnolia paper, which is not only beautiful, but also sturdy. I bet it’s expensive, but I don’t really know because I found a photo album (never used) filled with magnolia paper at a thrift store for $3.00. What a bargain!
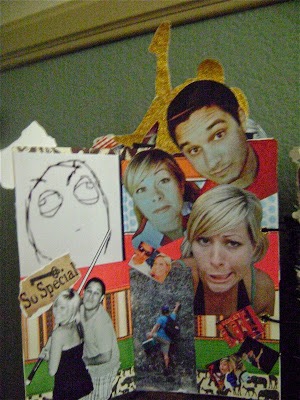
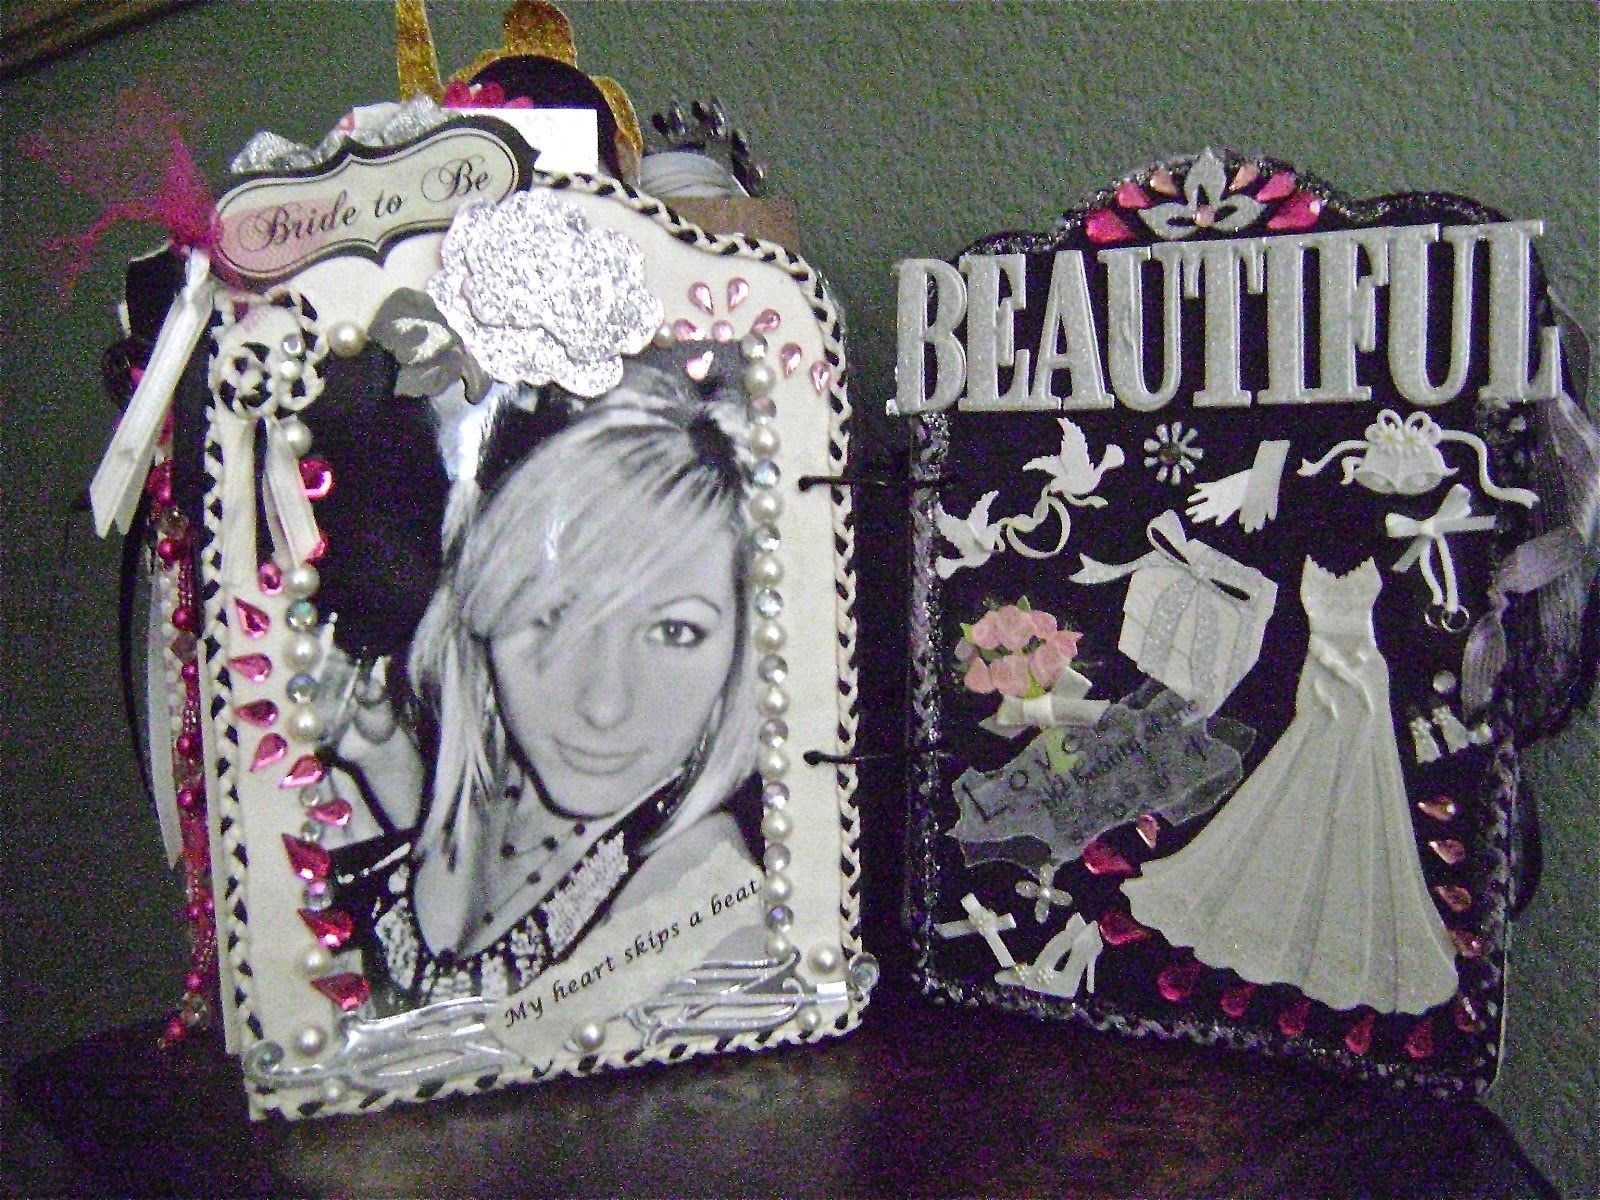
The page on the left is much shorter than the other pages. I like to throw in an odd shaped page here and there. Try gluing some of the photos or embellishments so part of it sticks up over the top or over the edge of the page.
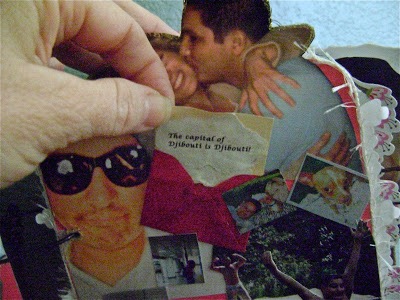
Bartt proposed to Lily in a photo booth by holding up a paper that said, “Will you marry me?” Unfortunately, when the photos were printed, she couldn’t read what it said, so he got down on his knee and proposed.
I thought I was being so clever folding a page over several times so the flap has ‘frames.’ My friend, Maria, who has taken some scrapbooking classes, told me that’s called the accordion technique. Well, that makes sense!
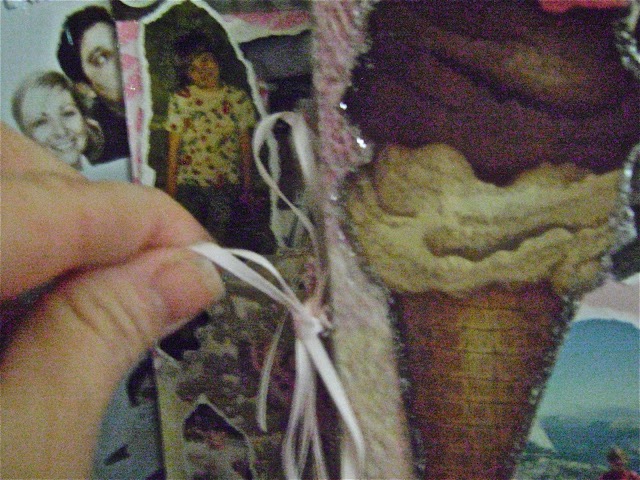
I tied the accordion flap with ribbons to hold it in place.
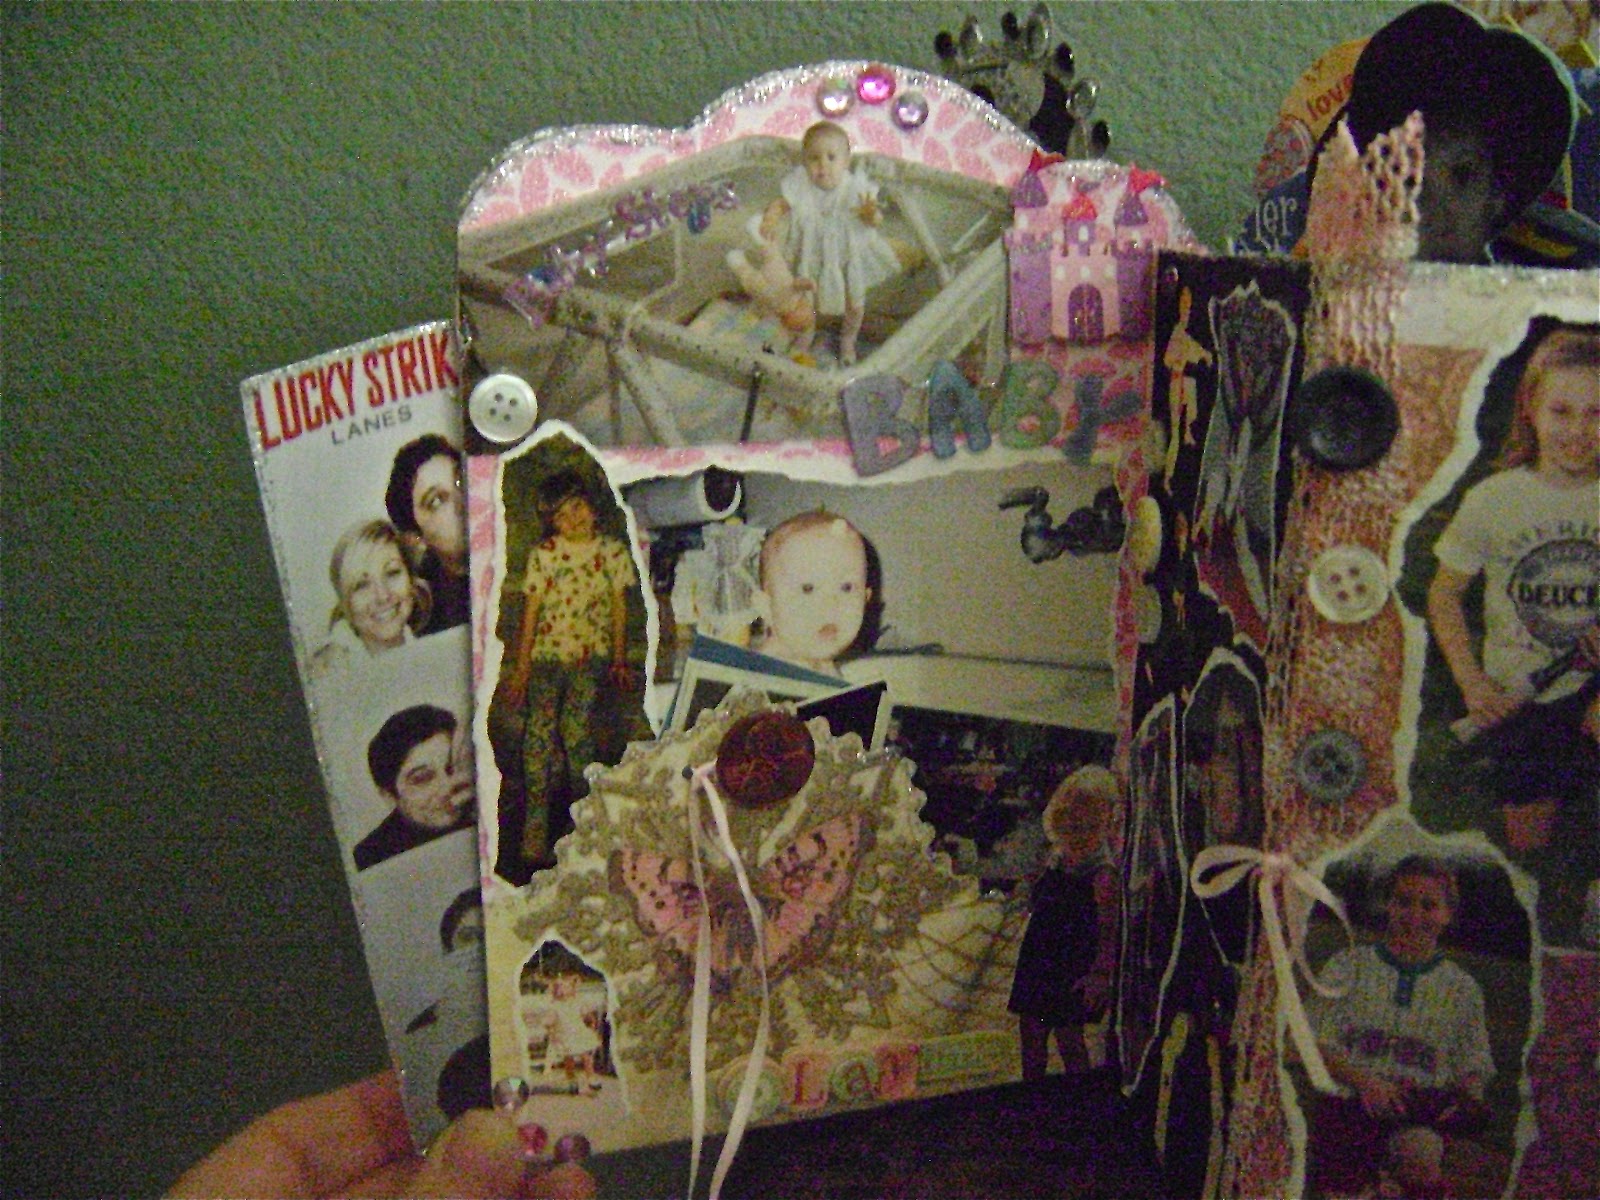
Pulling the accordion flap out. Each side is decorated.
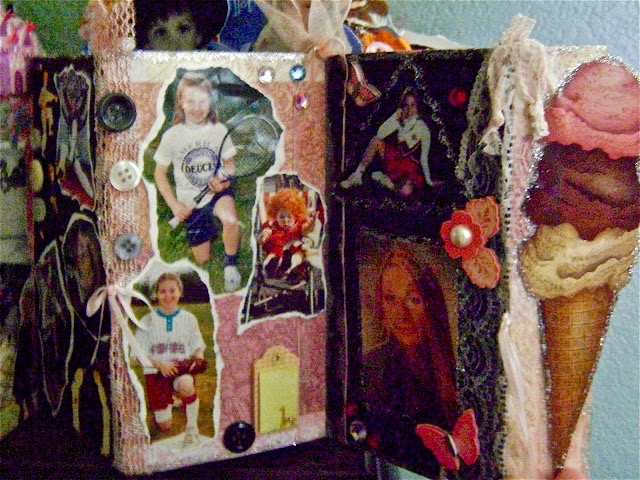
Some of the buttons I used were from Great-Grandma Wray’s button box. She passed away when Lily was a baby. I try to add as many sentimental touches as I can.
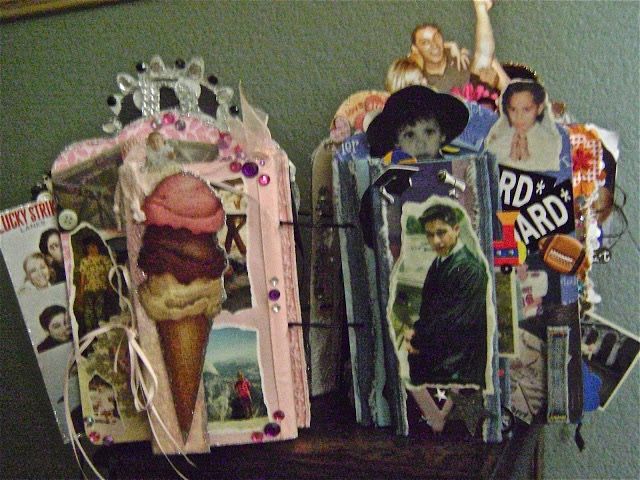
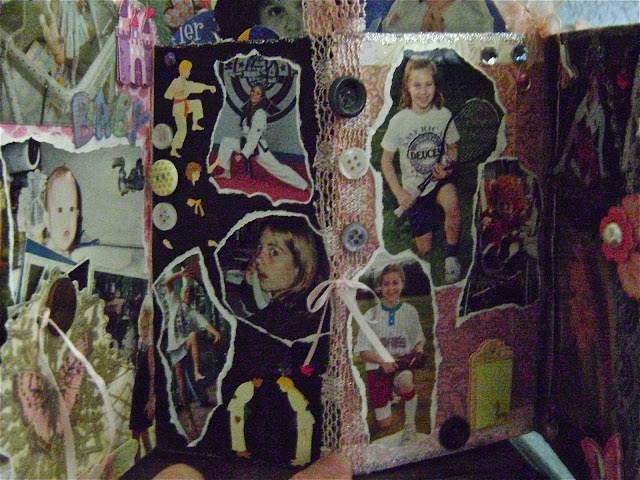
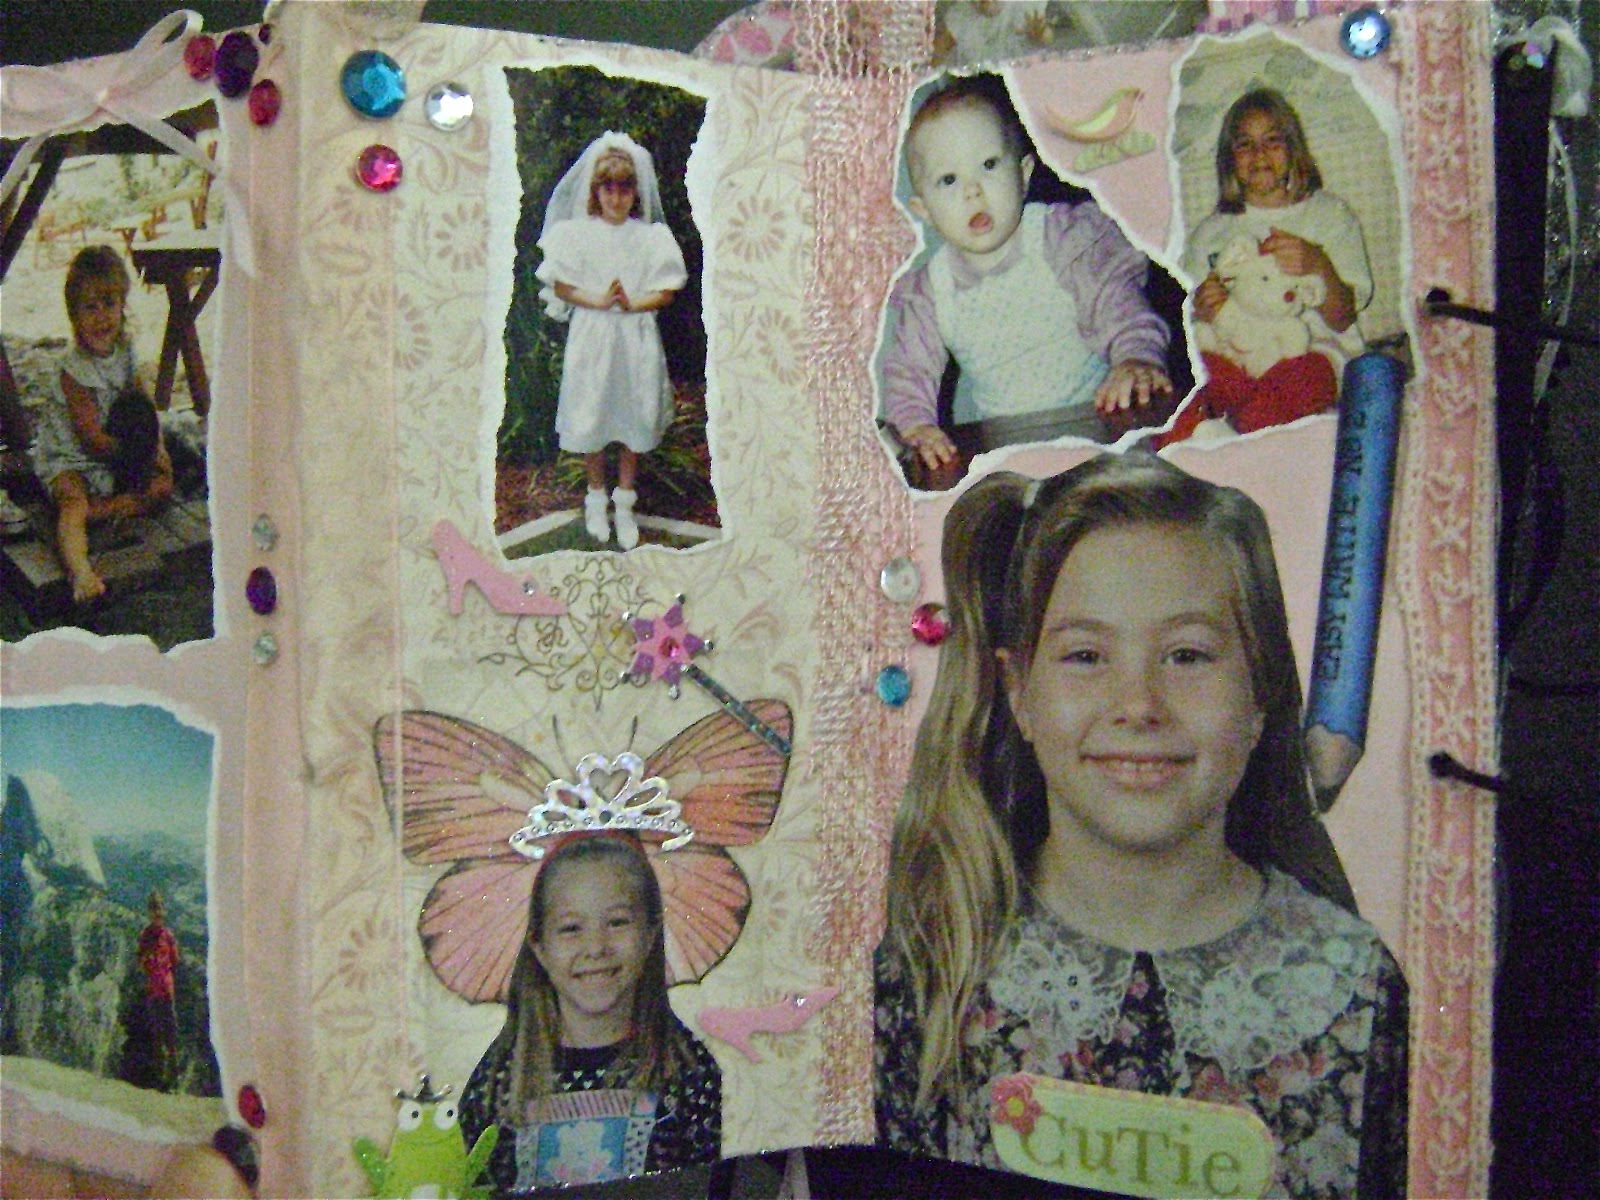
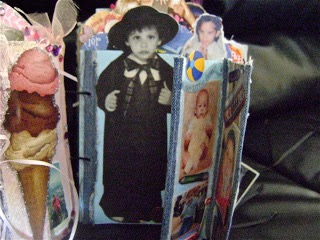
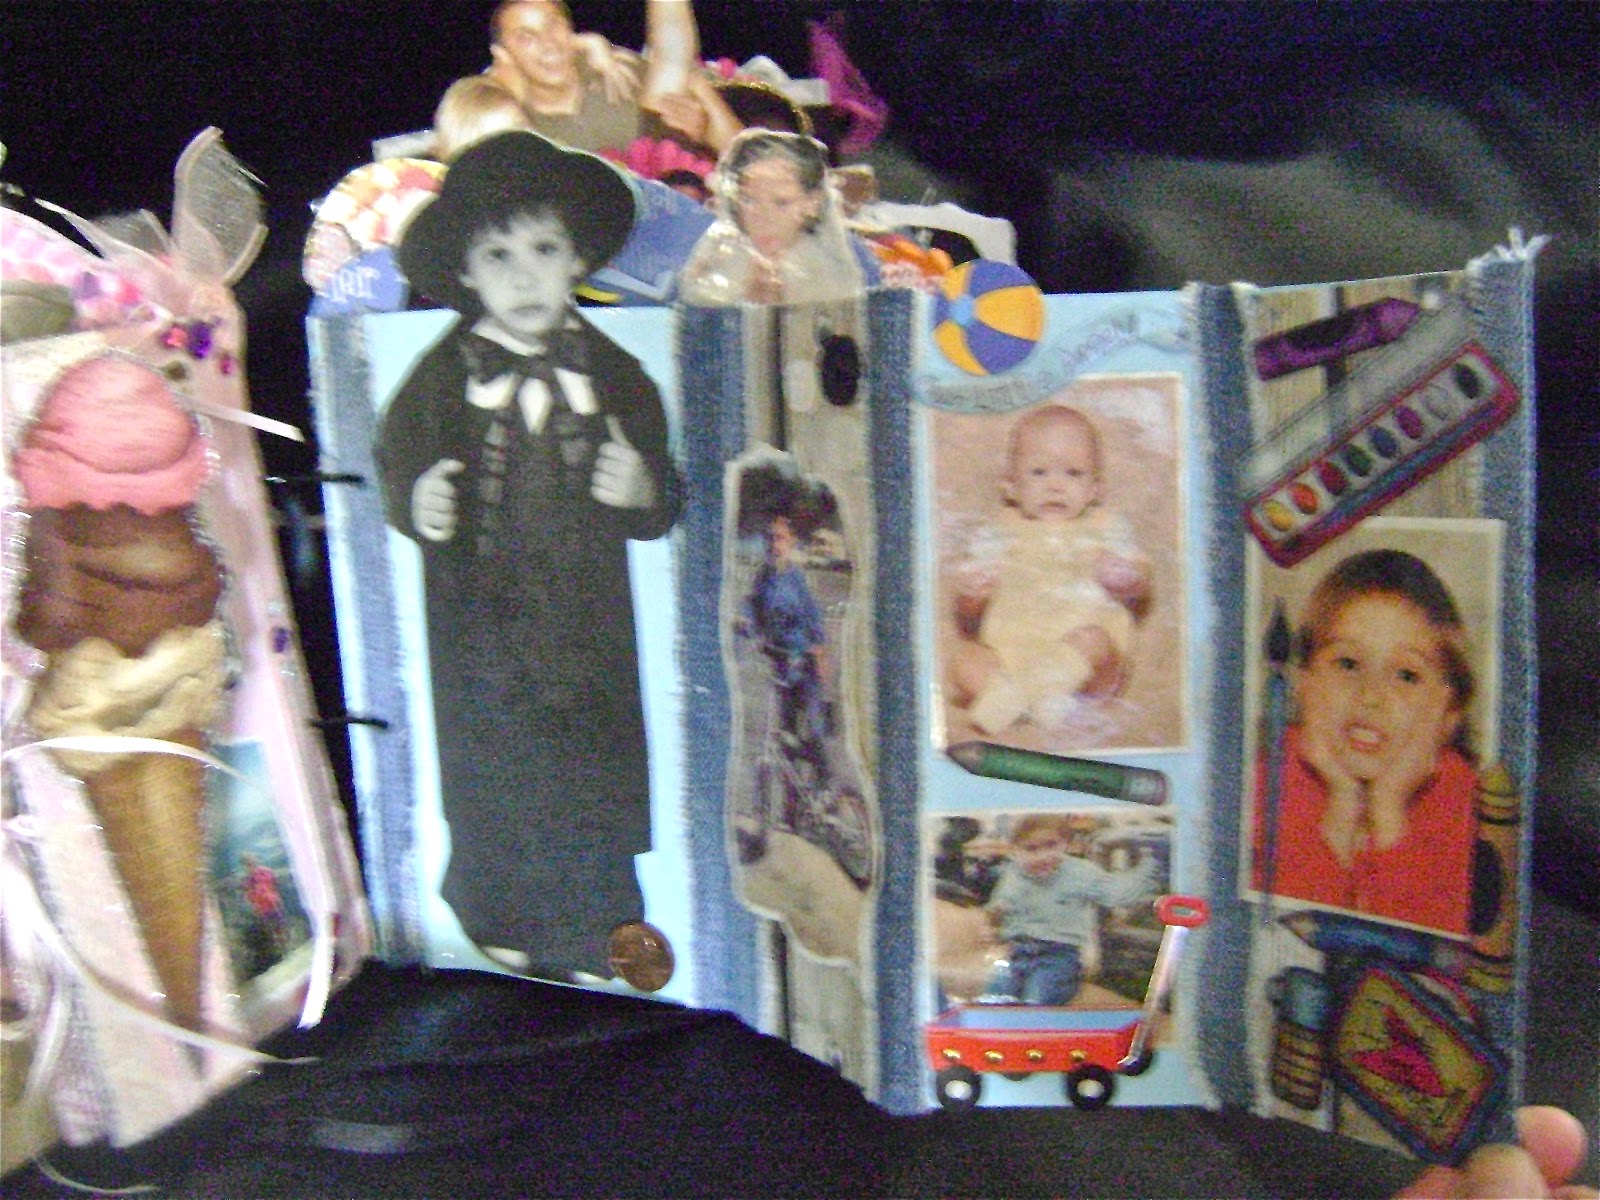
This accordion flap features the bride when she was growing up.
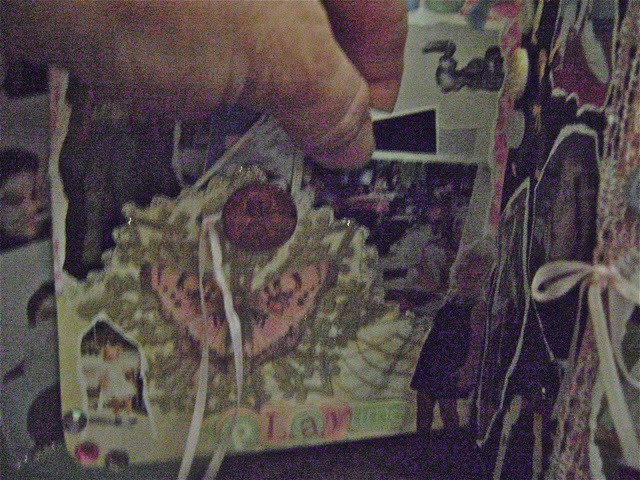
A penny from the year Lily was born makes a nice embellishment.
Unfortunately, my camera was on its last leg and many of the pics came out blurry. 🙁
Here are some wallet-size photos or smaller that I tucked in the pocket. I laminated many of the photos in hopes the lamination will protect them. If I print pictures with my home printer, they usually fade after a few years, so I try to order prints whenever possible.
I like the torn look for many of the photos instead of a straight cut.
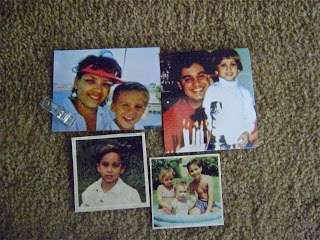
Bartt’s mother emailed me photos from his childhood.
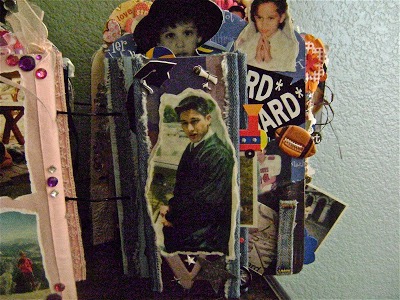
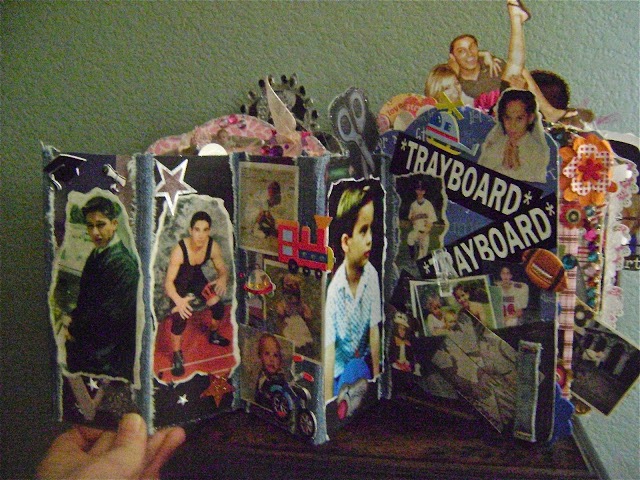
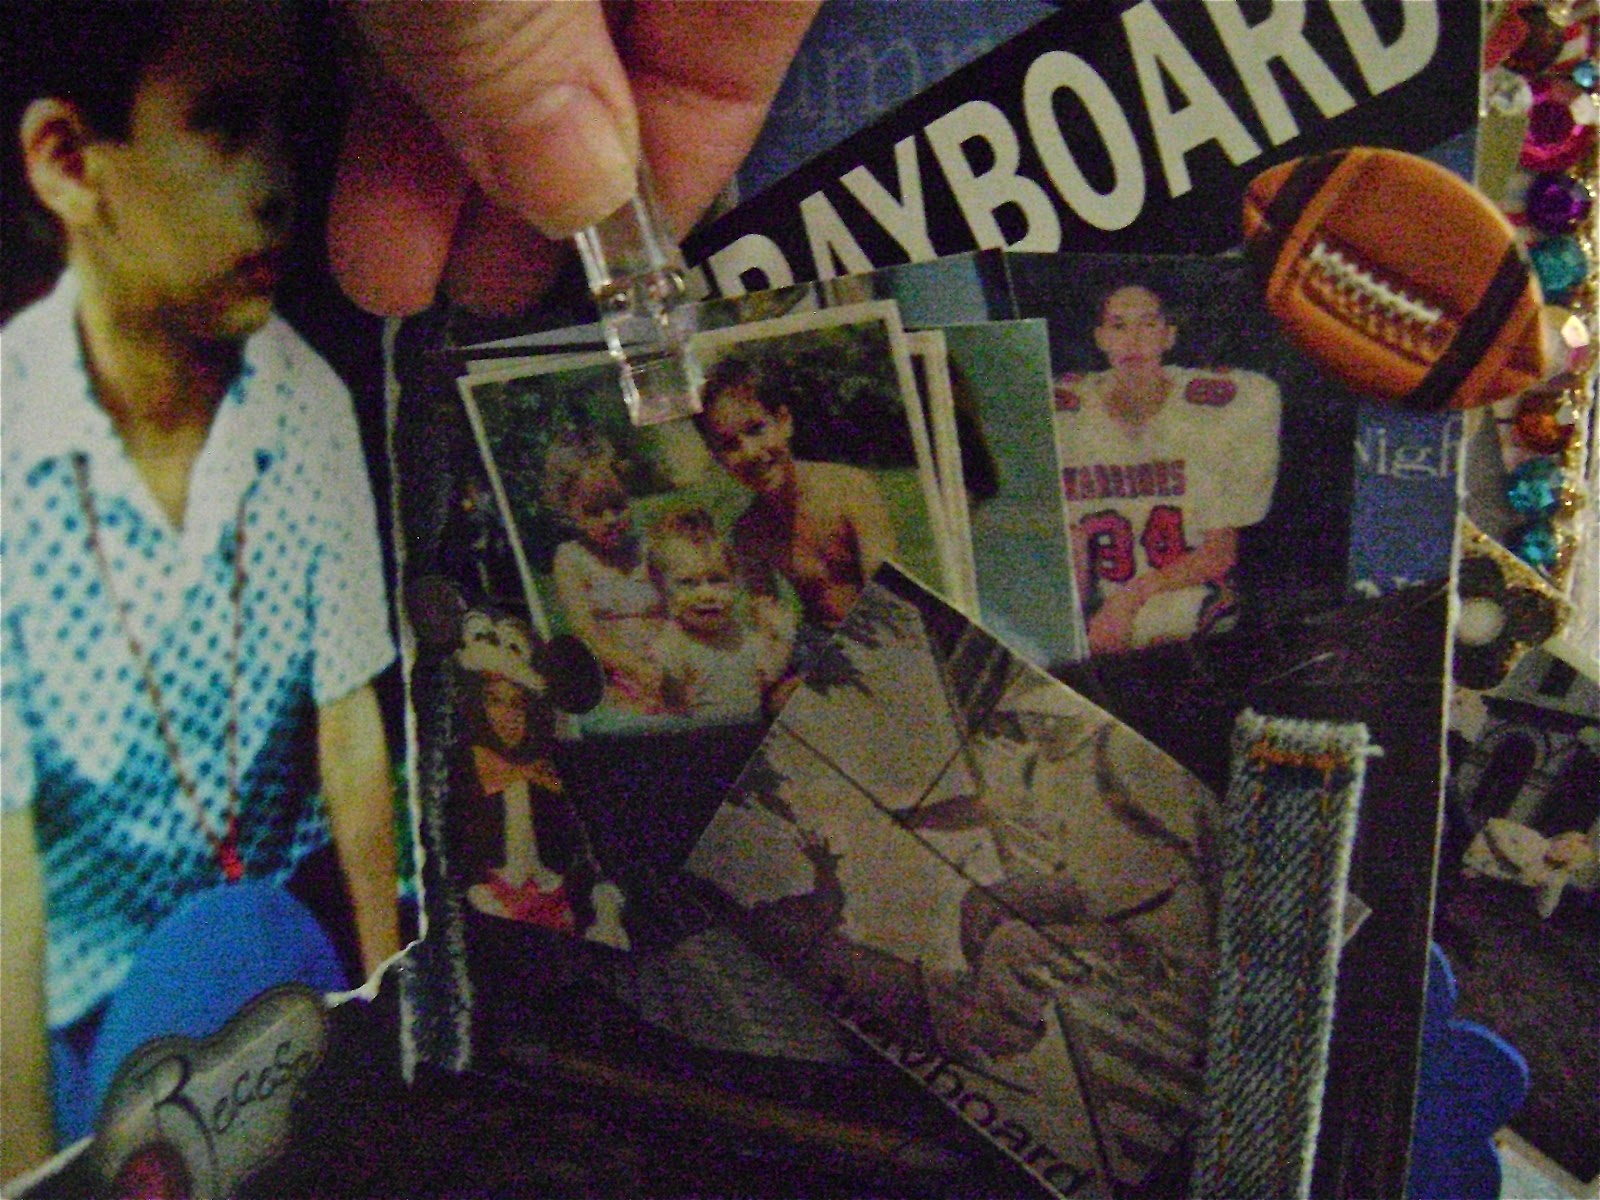
This accordion flap features the groom when he was growing up. Are you wondering what ‘trayboard’ is? Trayboarding is kind of like skateboarding, but a cafeteria tray is used instead of a skateboard. Kids/teens ride it as it slides across the concrete or railing. Too daring for me!
A belt loop from an old pair of jeans seemed to fit this page. (Pun intended!)
Treasured pics that are kept in a pocket.
Here’s the other side of the flap. It has a penny from the year of Bartt’s birth.
Don’t throw away those old jeans. I used jean fabric to accent this flap.
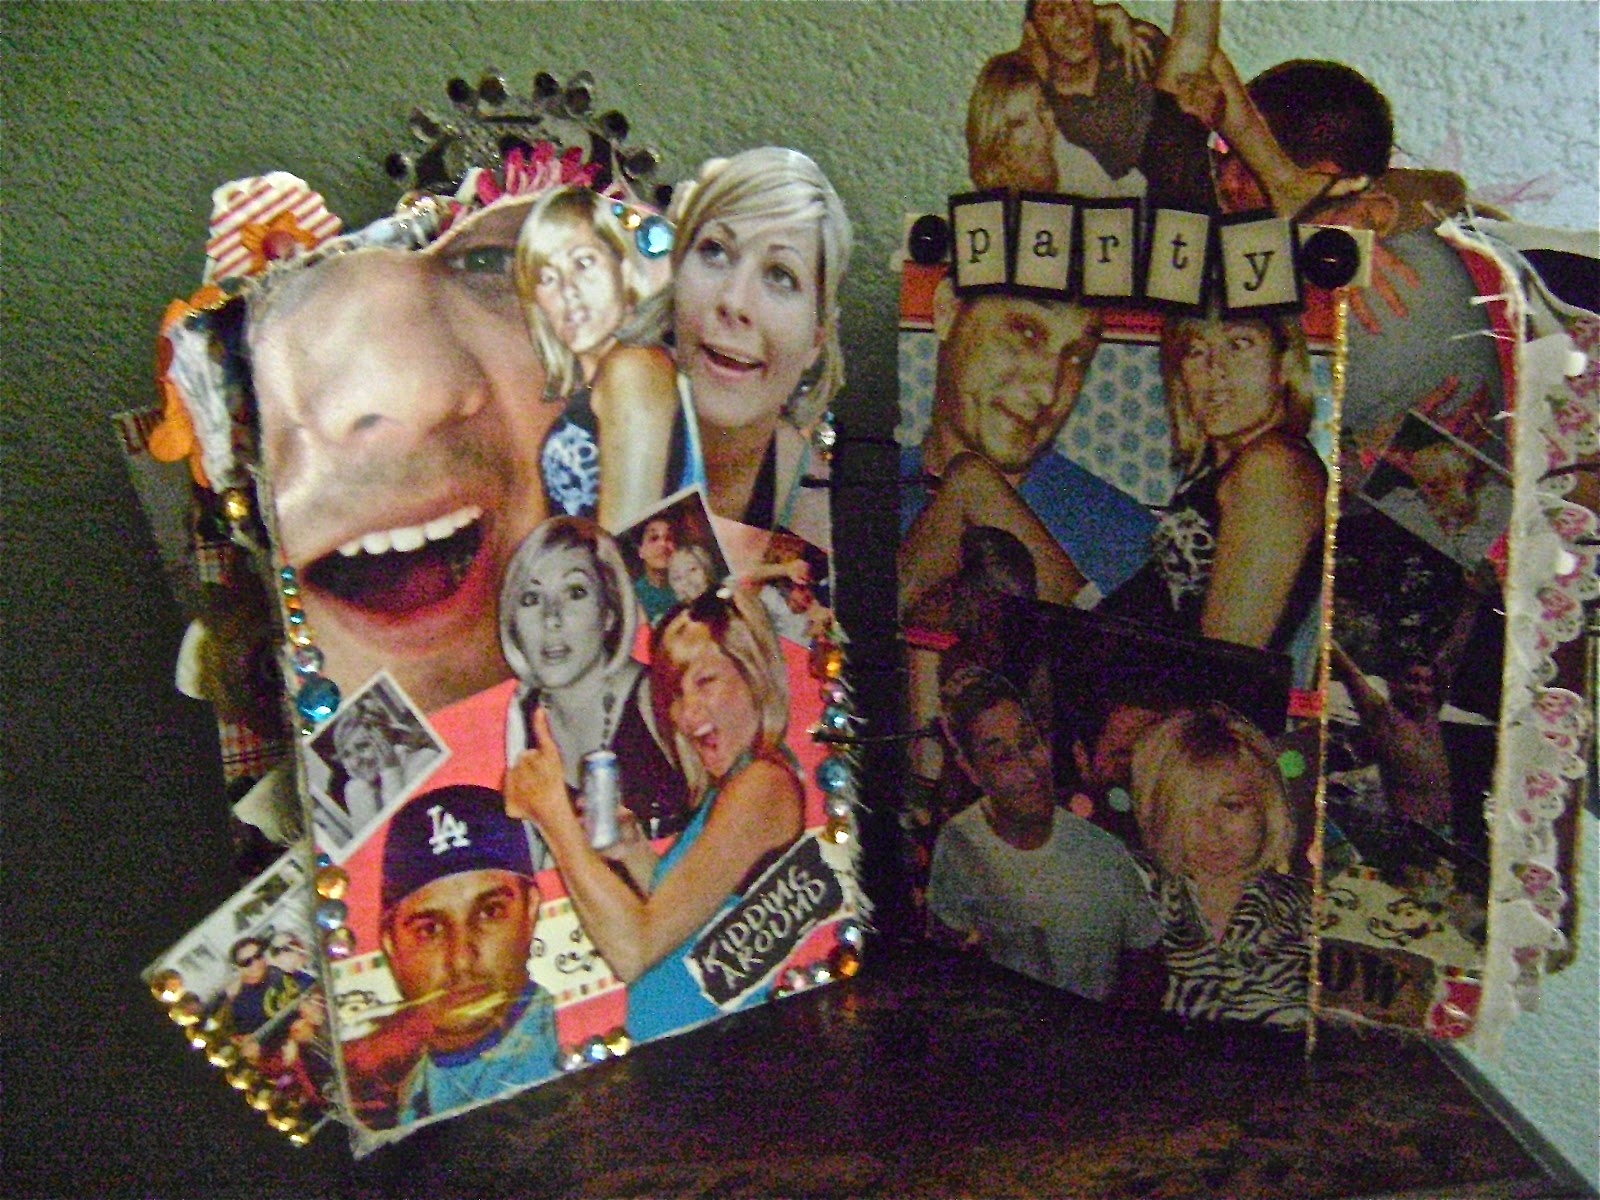
Bartt and Lily are a fun-loving couple, so I tried to design the spreads to reflect their personalities.
This page has a flap that folds across half the page.
Open the flap for a peek at the photos underneath.
A closer look at the other side of the flap.
The page on the right isn’t as wide as the other pages. I experiment to try to get a different effect by letting part of the following page peek out.
The reverse side of the smaller page also has a flap. No, his hair wasn’t really styled like that. I added wild spikes when I cut the photo.
By folding the flap partway across the page, it lets you see a portion of the photo underneath. It makes me curious to see the rest of the picture under the flap.
More silly pics when you open the flap. I got the drawing off Bartt’s FB page.
A closeup of the little red envelope, which has a piece of paper inside. The message has a private joke, just another bit of silly fun.
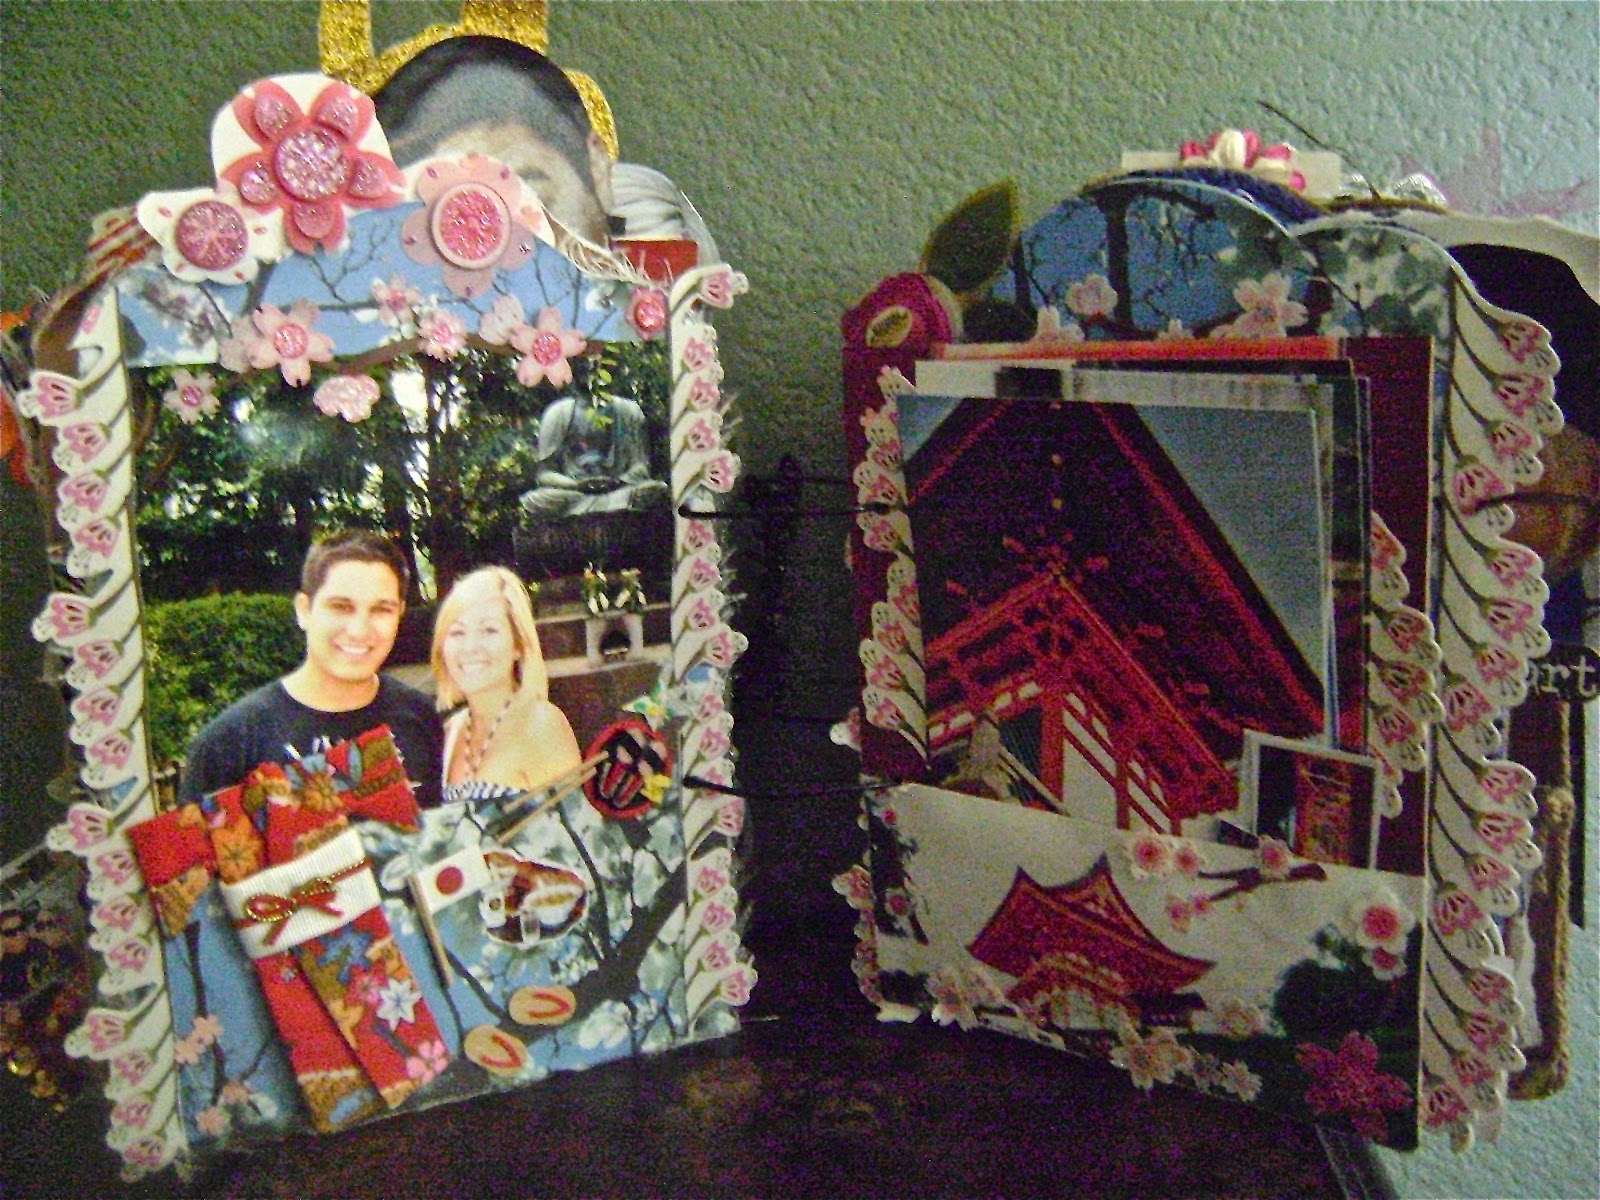
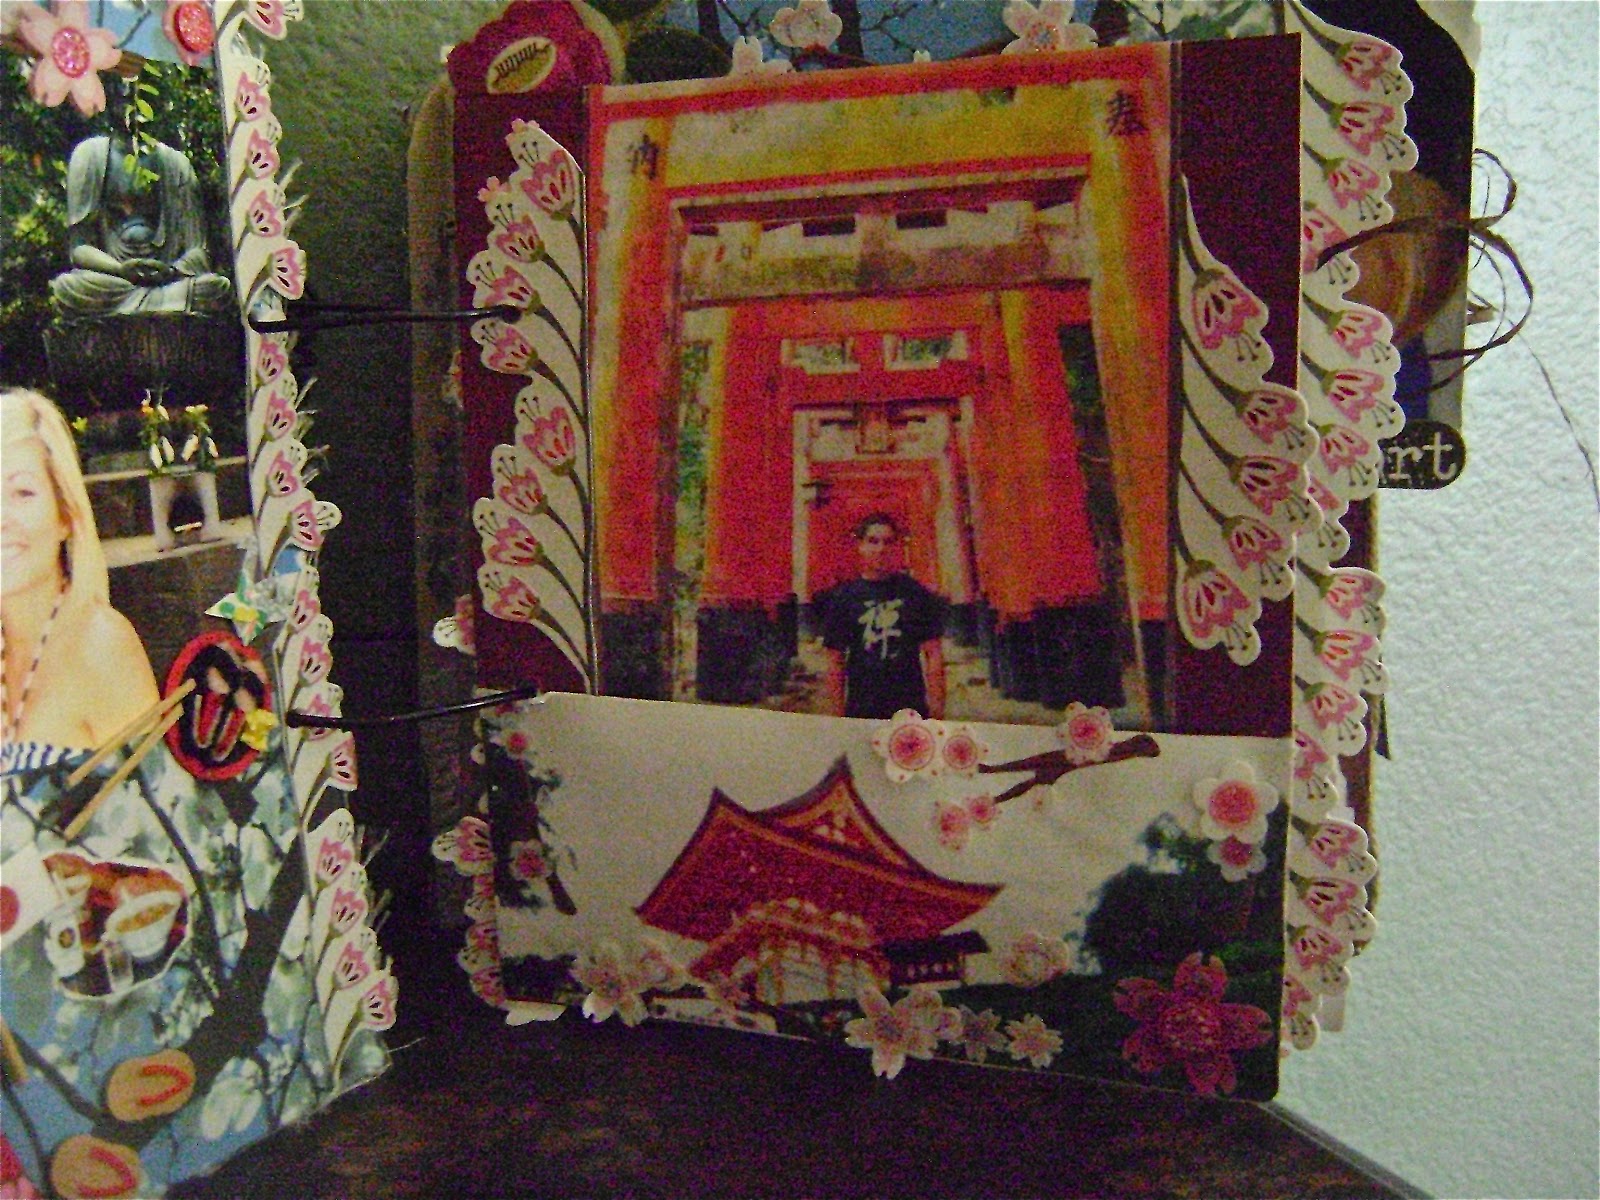
Trip to Japan. The page on the right has a pocket
which holds photos from their trip.
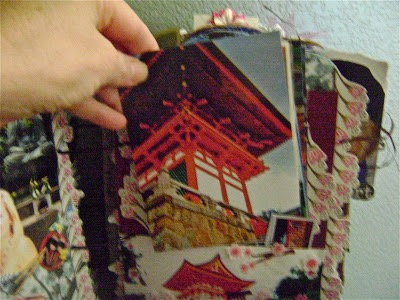
Removing the photos.
With the photos removed from the pocket, you can see the background of the page.
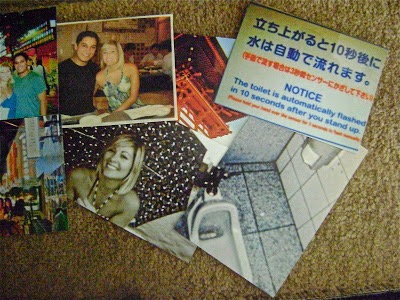
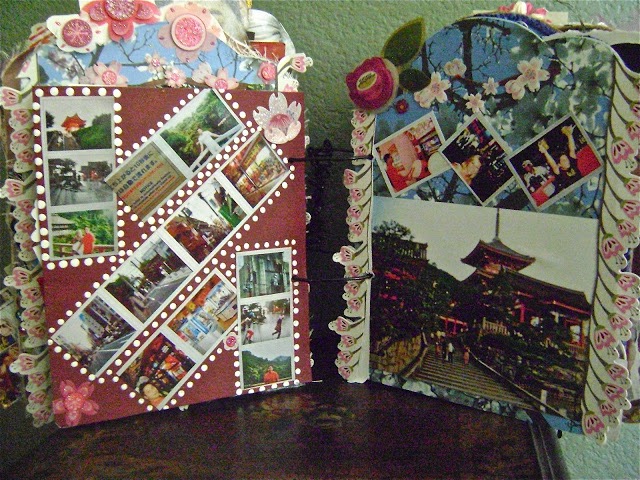
These are some of the photos that were tucked in the pocket.
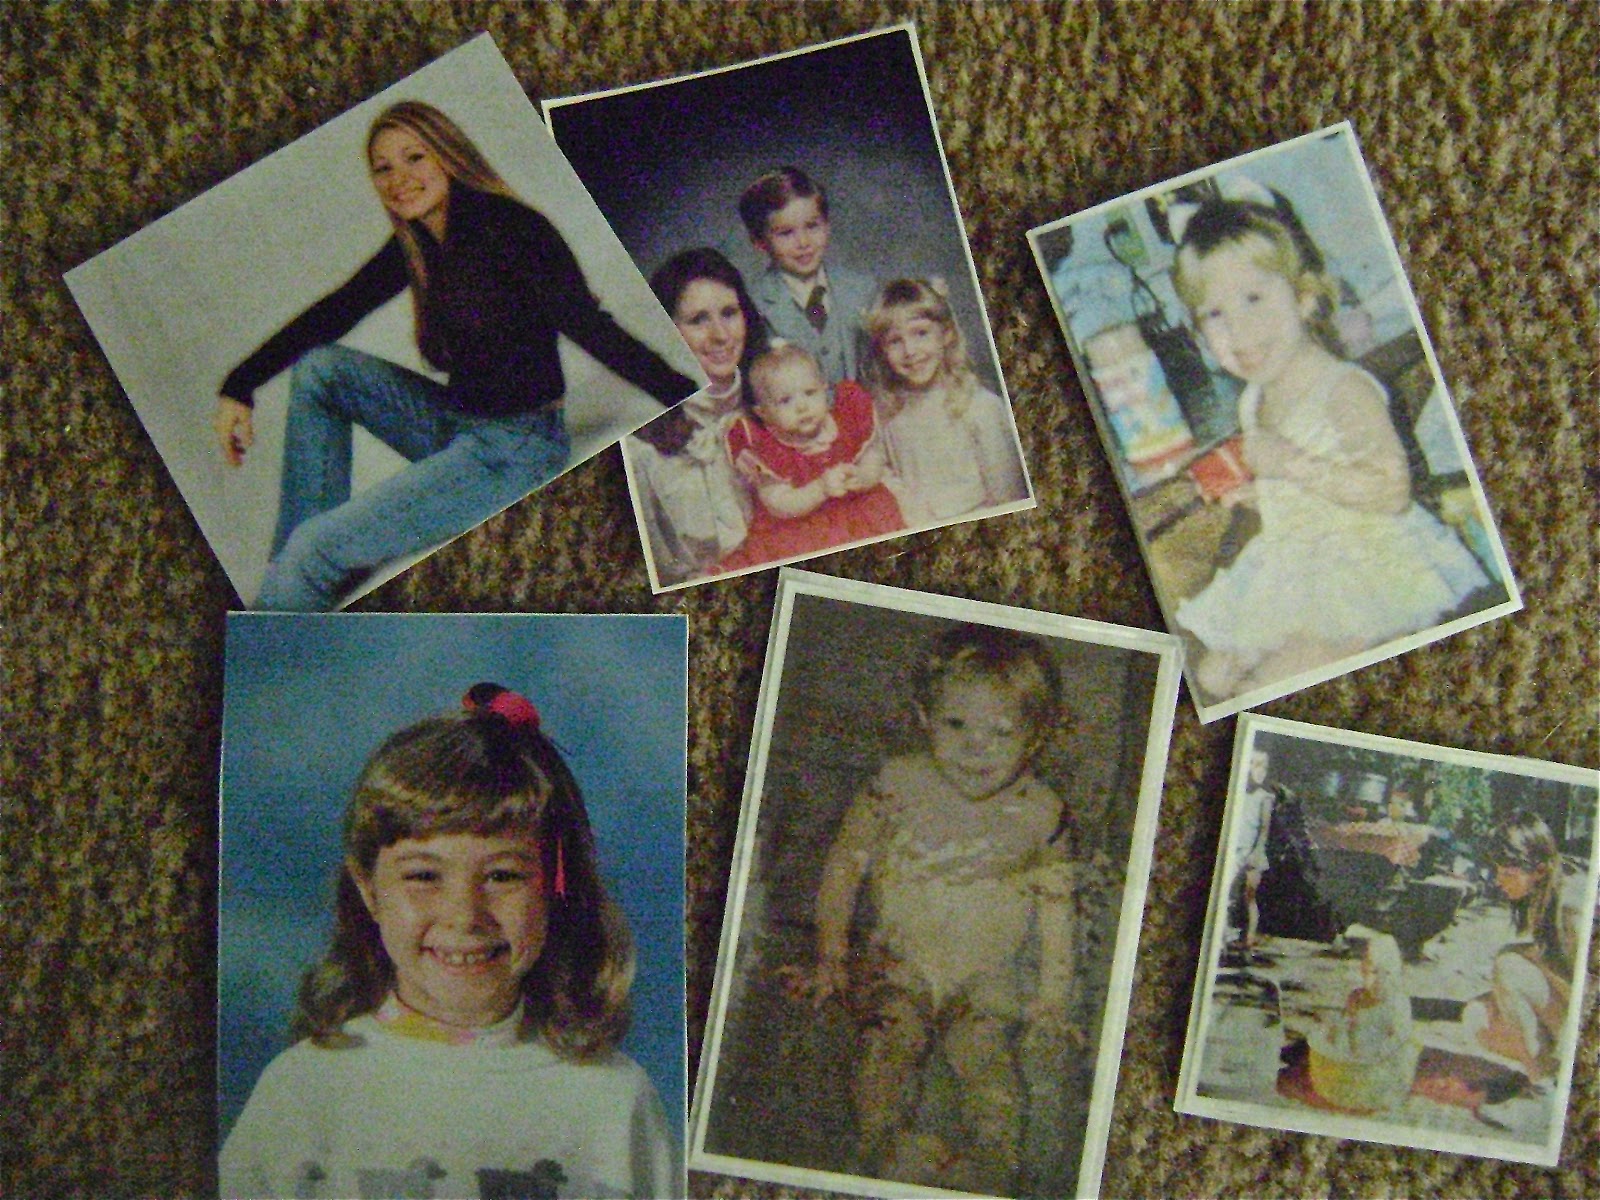
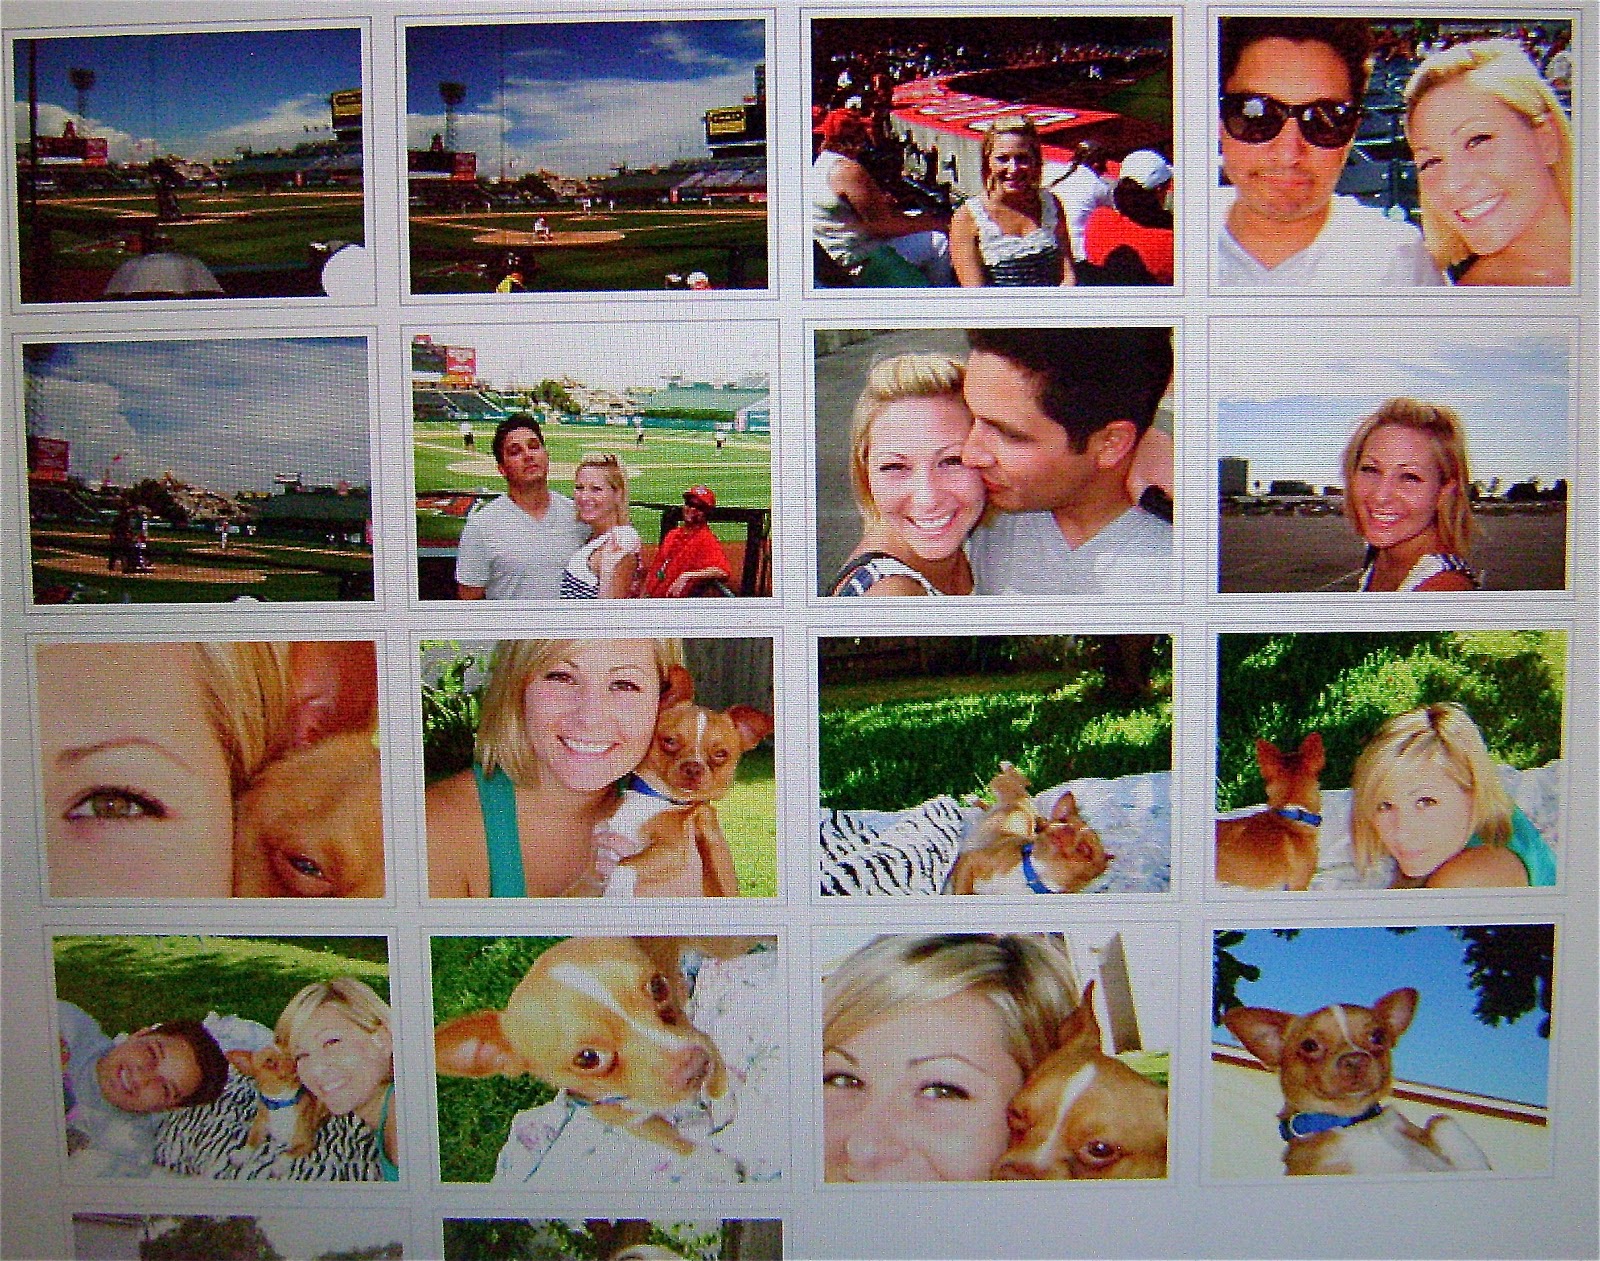
How did I get these tiny photos? I used my camera to take a screen shot of their Facebook albums, then had prints made. These are actually the result of my tech deficiency. I tried to print some of their Facebook photos, but a square blank showed up on Lily’s face where she had been tagged. At the time, I didn’t know how to drag the pics into my computer, so this was the solution I came up with.
Here’s a shot of one page from Lily’s FB album that I took with my camera. The photos are a little bigger than thumbnail pics.
I loved having those little pics to play around with. It added such a nice touch, and there wasn’t enough room to use full size photos, so it worked out great! That’s what I love about altered art. If one thing doesn’t work, I have to figure out something else and sometimes discover a cool new look.
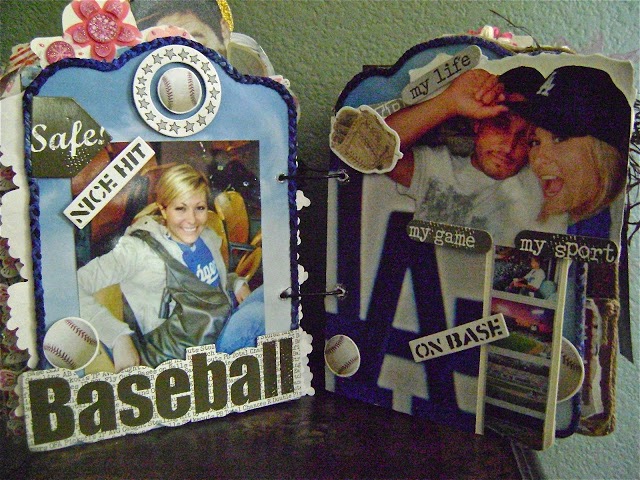
Thin ribbon braided together makes a nice border.
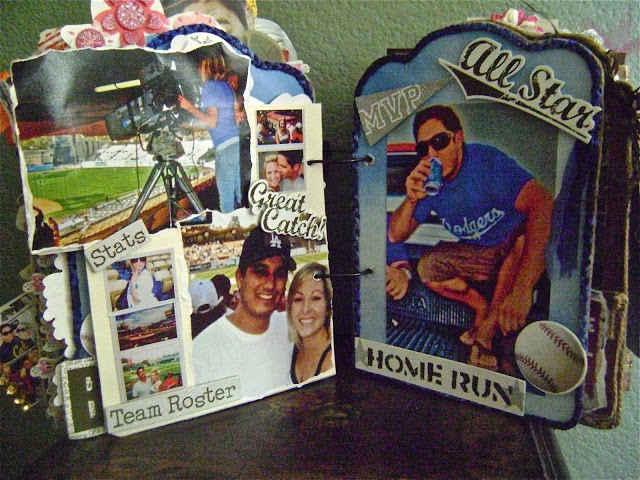
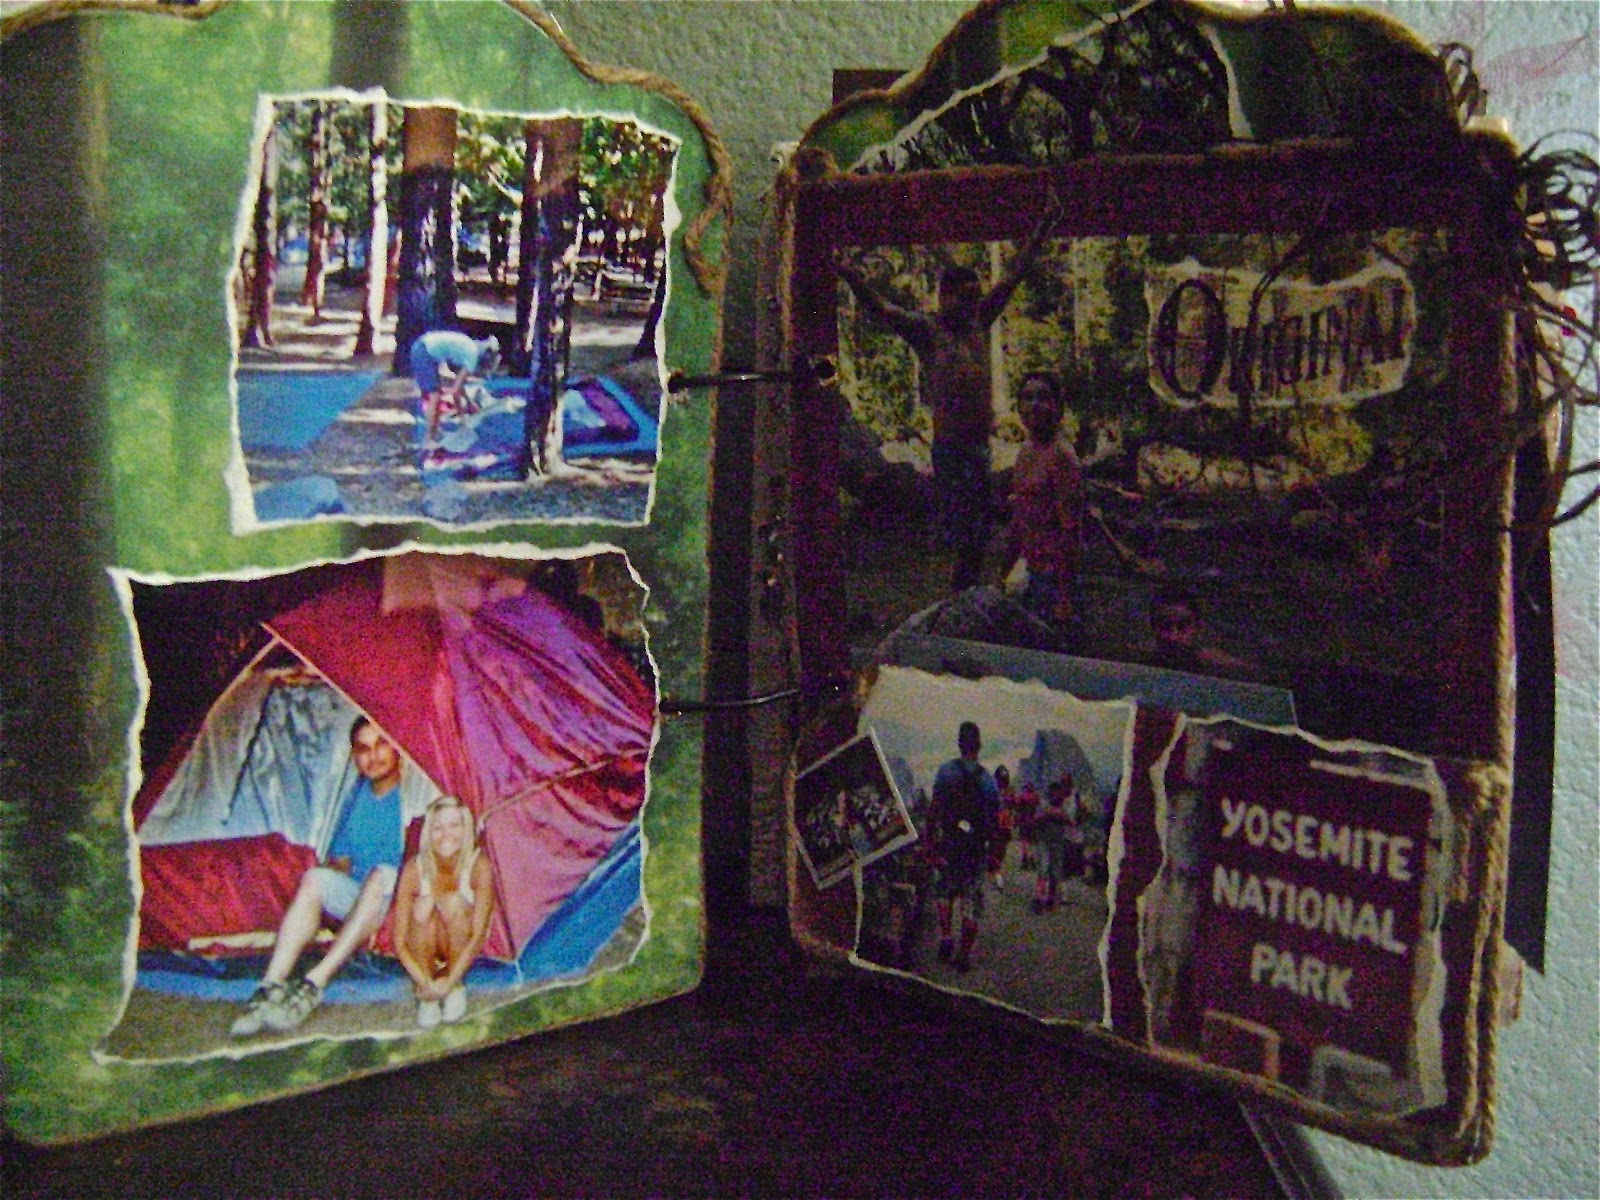
The bottom photo on the left makes it look like Lily is sitting next to Bartt in front of the tent, but actually, I cut it out of another photo and glued it on. A brown raffia bow embellishes the top right corner.
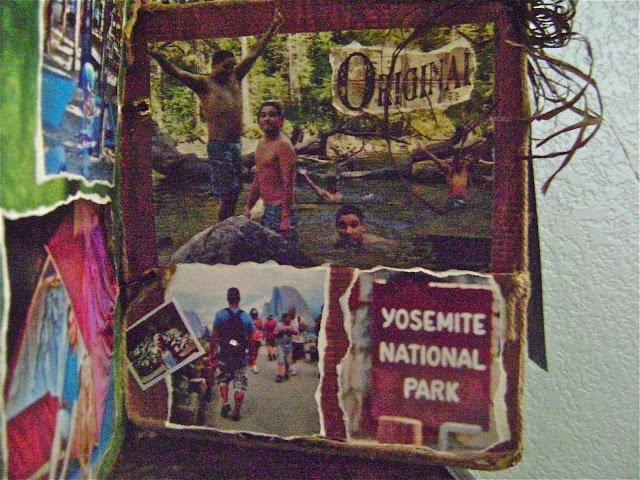
The top half of the page on the right has various shots of Bartt playing in the Merced River. I literally cut and pasted different photos together. I’m sure it would be much easier in Photo Shop, but I have no experience with that software. Maybe someday I’ll be able to afford it, but I think it would take me longer to learn it than to cut and paste the old fashioned way!
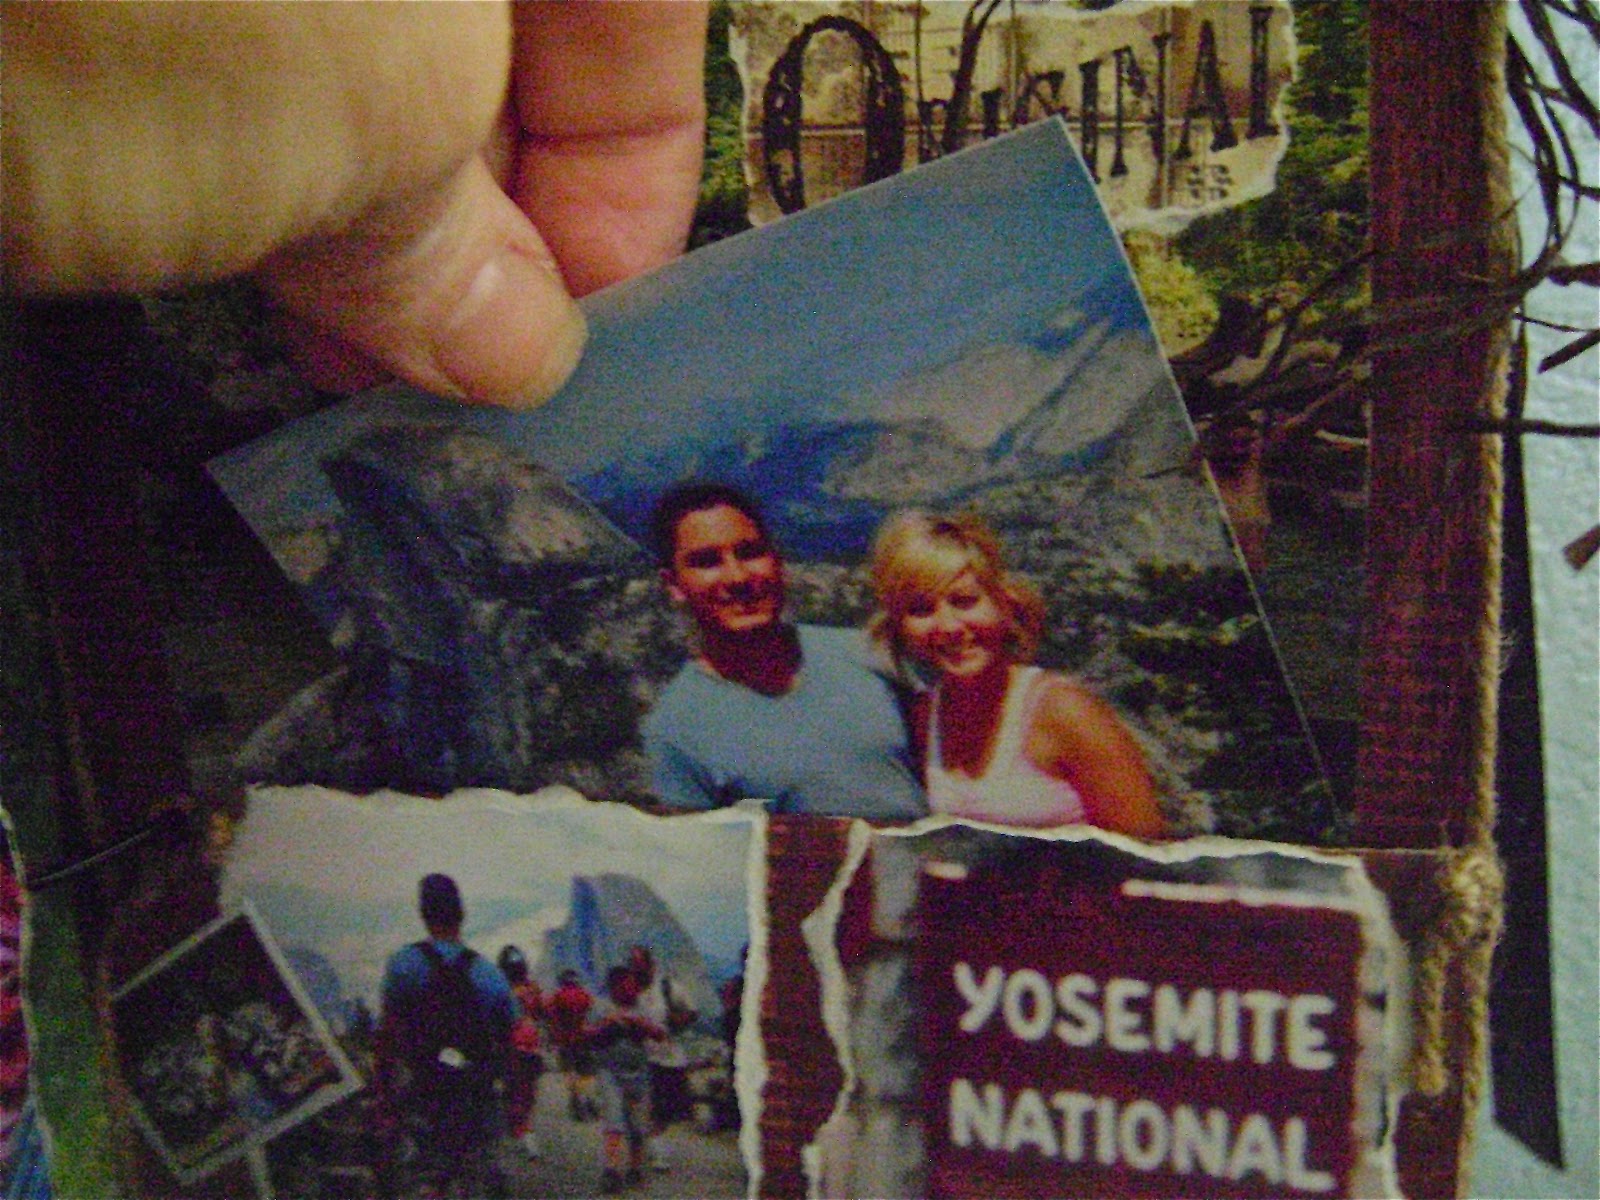
The bottom half of the page on the right serves as a pocket with a photo tucked inside…
…but it’s also a flap that can be lifted up to see more photos underneath.
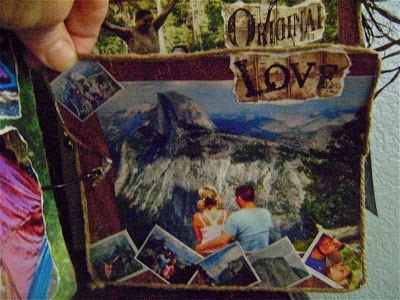
Jute makes a nice border. It goes with the nature look, don’t you think?
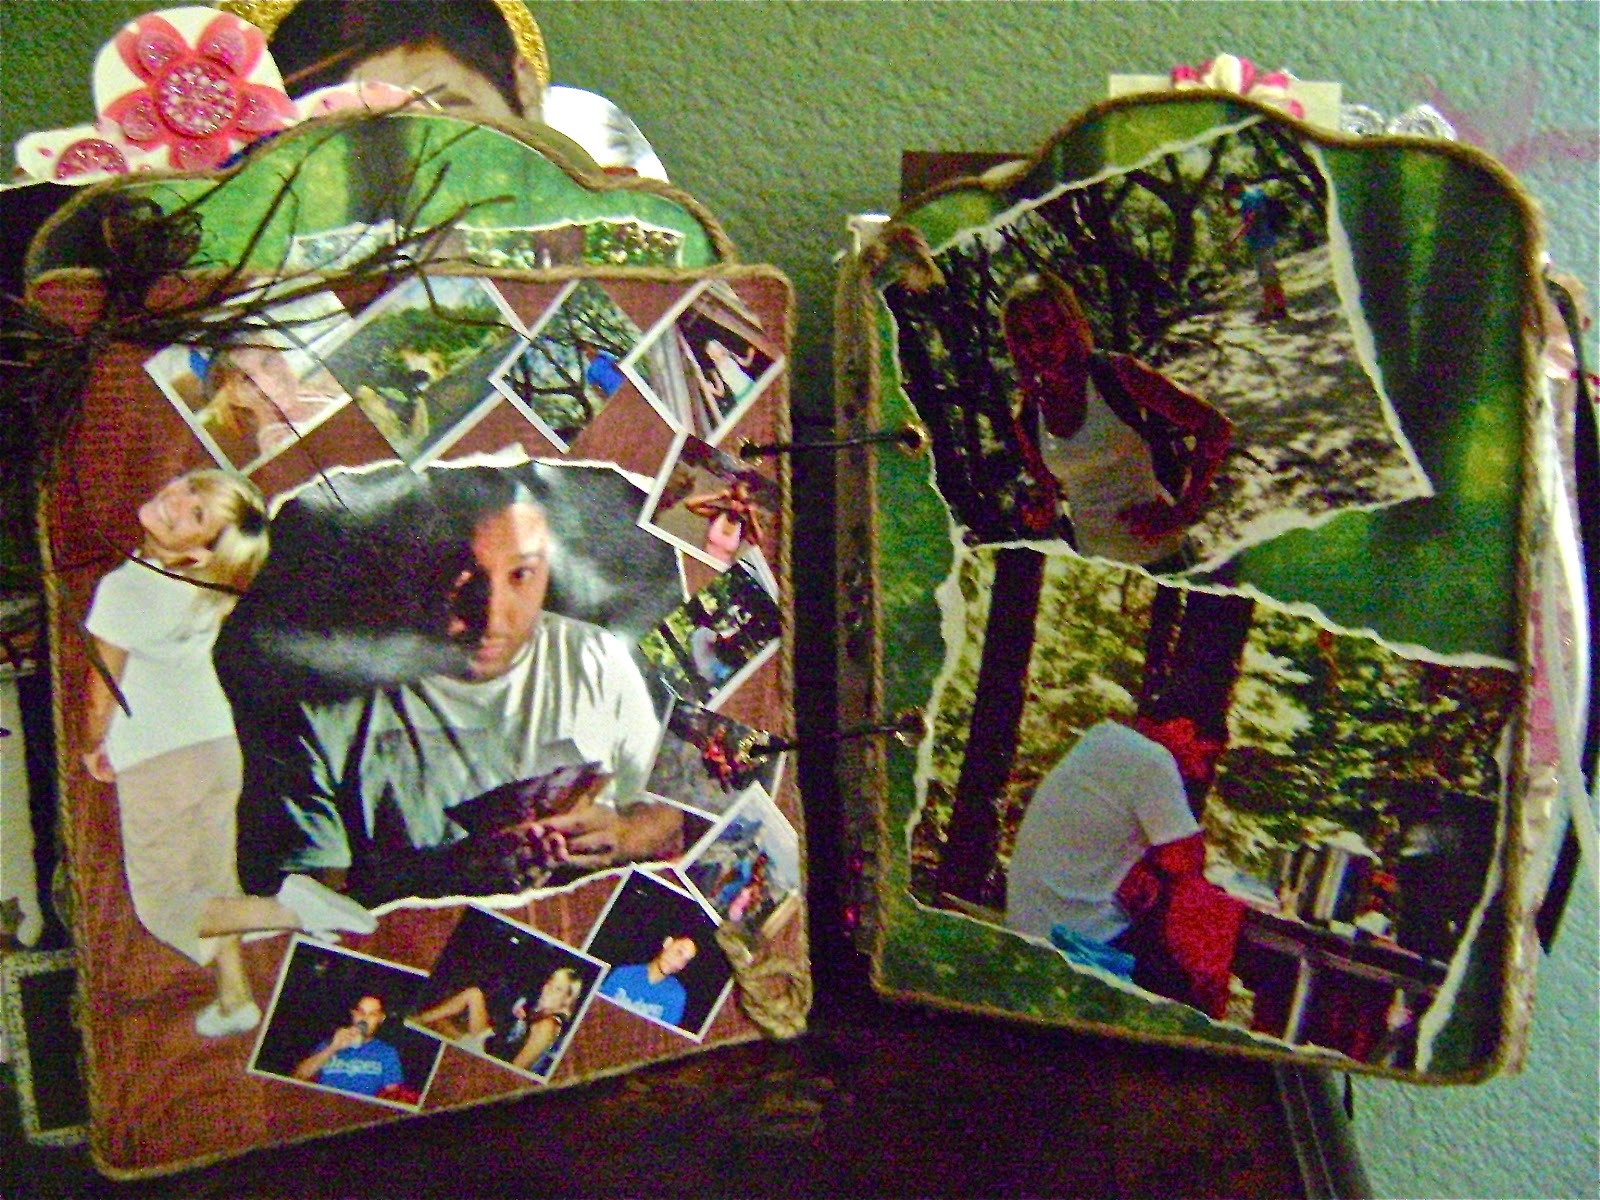
More jute twine borders the pages of this spread.
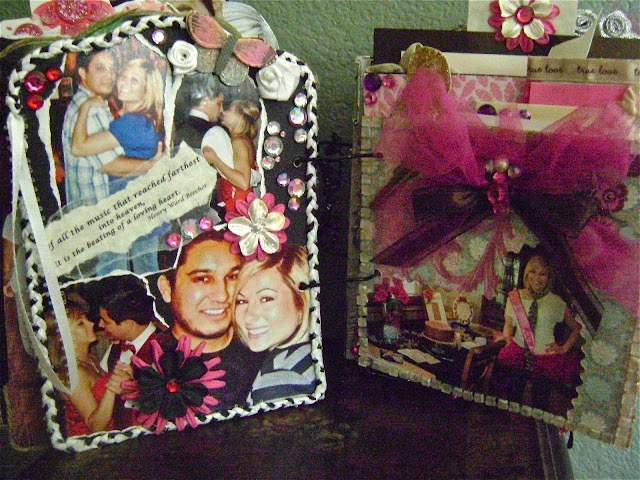
The page on the left has a quote. You can buy packages of quotes at the craft stores or do a google search for quotes on almost any topic and print them out yourself.
Page on the right has ribbon and hot pink tulle, souvenirs from Lily’s bridal shower that my sister Cindy saved for me to put in the altered art book.
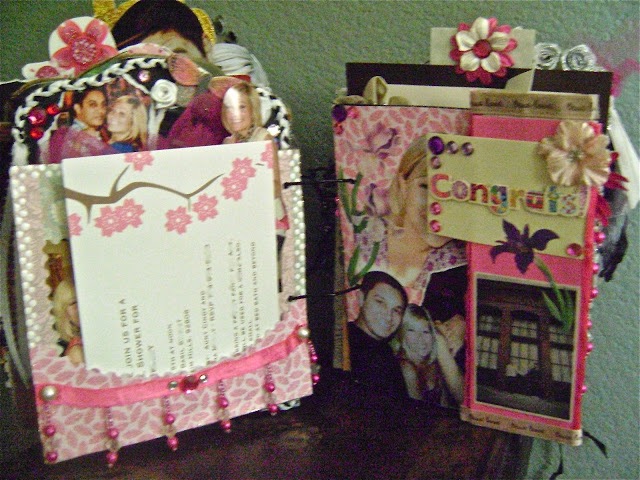
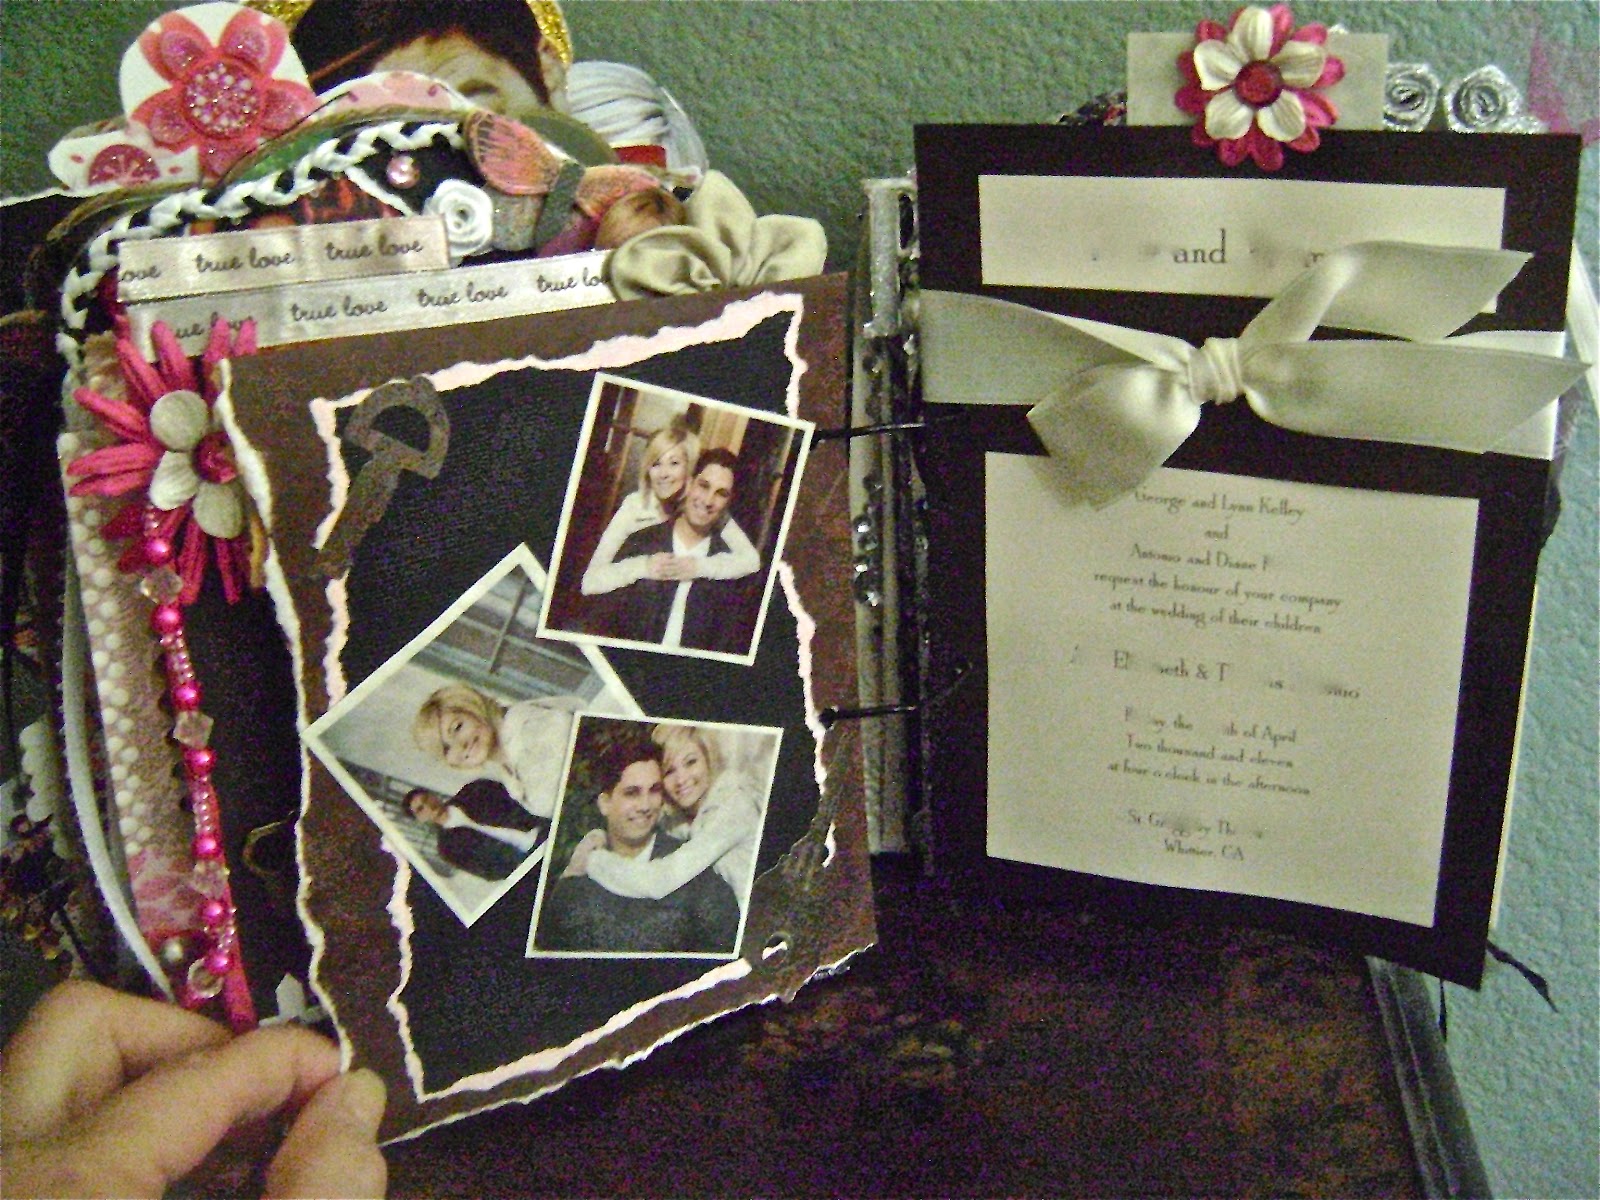
Invitation to the bridal shower is in the pocket on the left page. The page on the right has a folded flap.
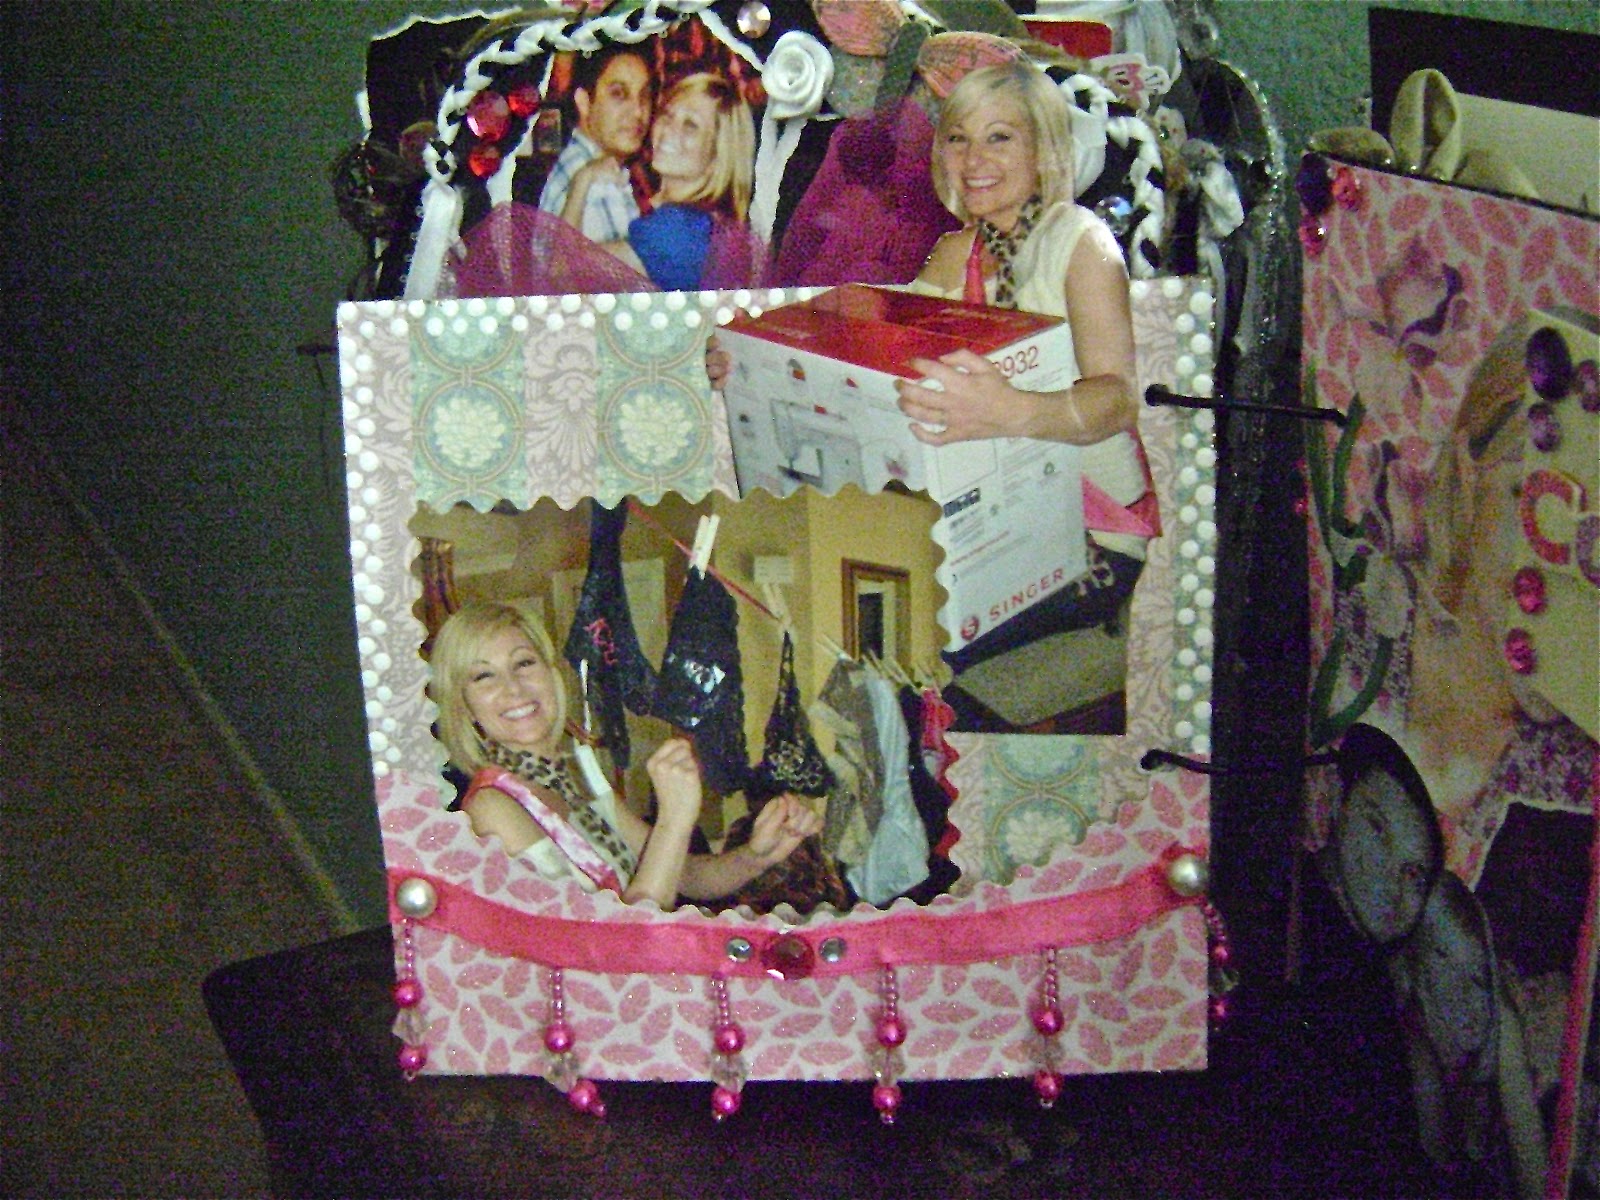 These photos were hidden by the invitation.
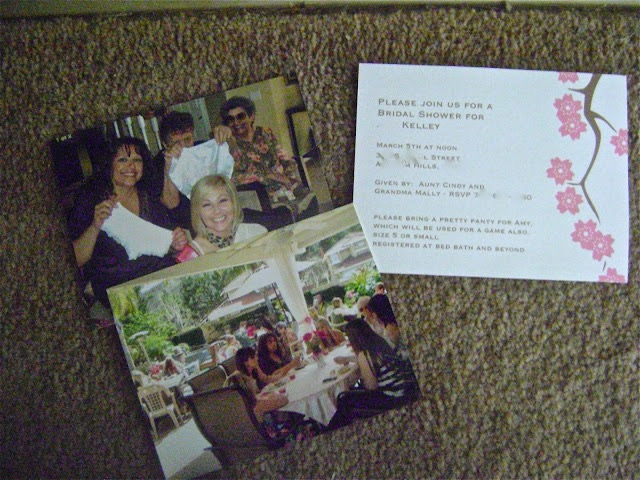
Photos and invitation that were in the pocket.
Open the flap. On the flip side is another set of photo booth pics, flanked by scraps of trim.
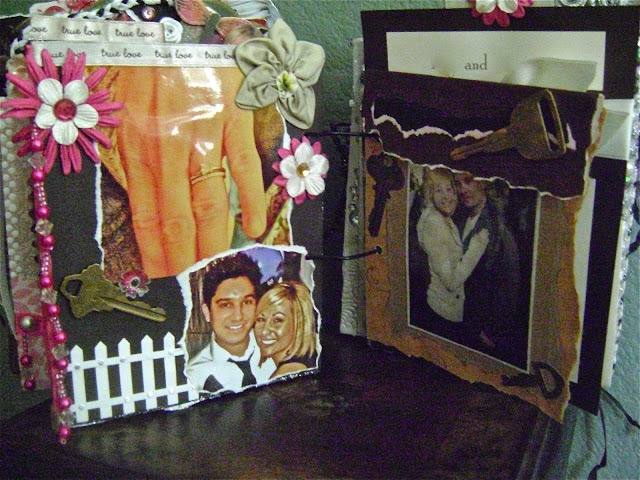
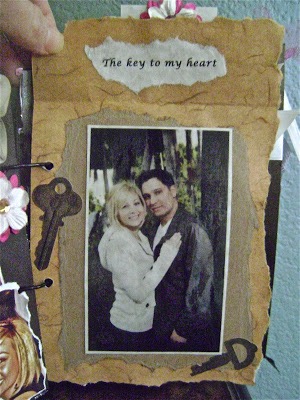
I glued an old house key on the left page just above the white picket fence. The top key on the right page is an actual key to Lily’s old car, which she no longer drives. The other keys on the page are stickers.
Lift the flap and there’s a sweet message!
Engagement pics and the wedding invitation.
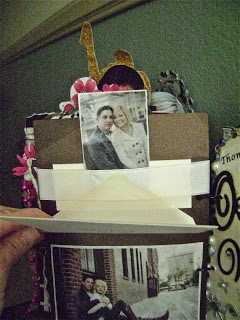
The flap of the RSVP envelope is glued down, but the rest of the envelope can be lifted up
to see an engagement picture underneath.
More braided ribbon borders these pages.
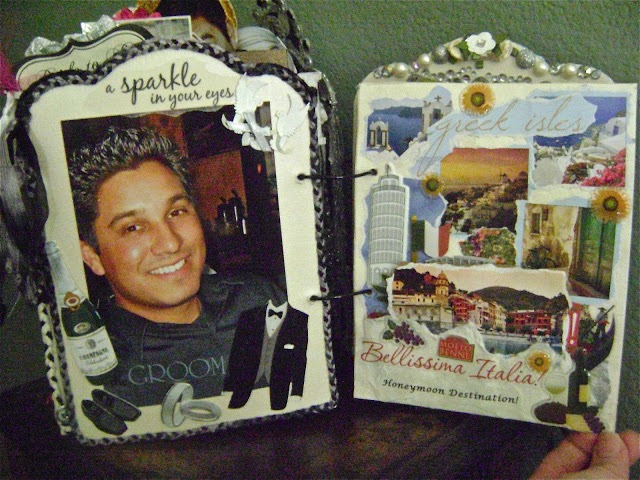
The page on the right has pictures of their honeymoon destinations – Italy and Greece.
There’s a pocket at the bottom of the page so they can add photos or mementos.
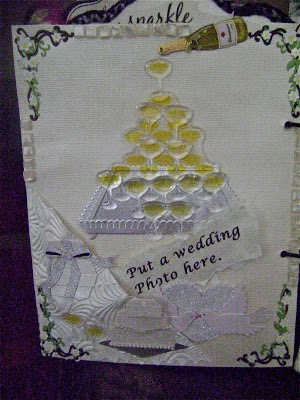
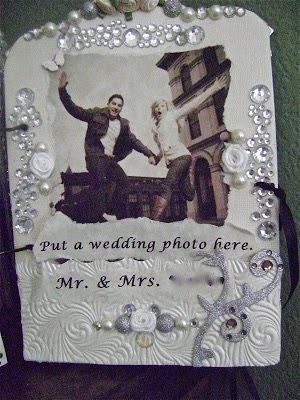
These pockets are for the bride and groom to add some of their favorite wedding pics.
White butterflies have special meaning to Lily – a symbol of the presence of God.
I tried to hold the book together with metal rings, but it was much thicker than I planned and I couldn’t find any rings that were large enough, so I found some black floral wire, which worked out better. It’s easy to bend, and I wrapped the ends of the wires around a pencil for a curlicue look.
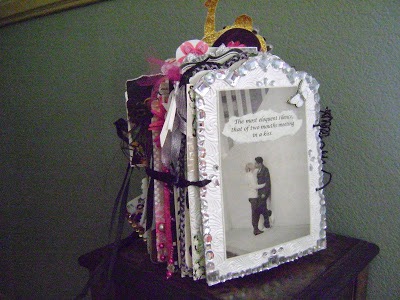
Black ribbon tied in a bow holds the book closed.
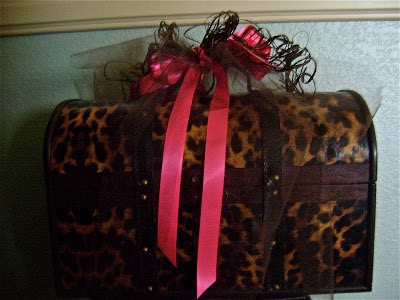
I found this leopard print case at Ross to use as a gift box.
They have lots of cool things in their housewares section.
Brown raffia, brown tulle, and hot pink ribbon, the wedding colors, made a nice bow,
which I tied on the handle.
This is the largest and most complicated altered art book I’ve made so far. Bartt and Lily loved it.
I think back to a year ago when we were all scrambling to get ready for the wedding. The ceremony was beautiful and the reception was wonderful. One of the happiest days of my life!
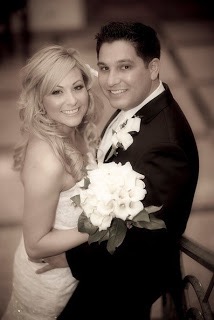
Happy 1st anniversary, Bartt & Lily.
I wish you many more years of joy and happiness. XOXO
Friends, do you have a favorite hobby that you love to get lost in? Do you find that doing something creative in one activity allows your creativity to flow over into other activities?
Oh, I almost forget to tell you that this is my 100th blog post!
Woo hoo!