I designed a quick and easy centerpiece that can be customized for any occasion.
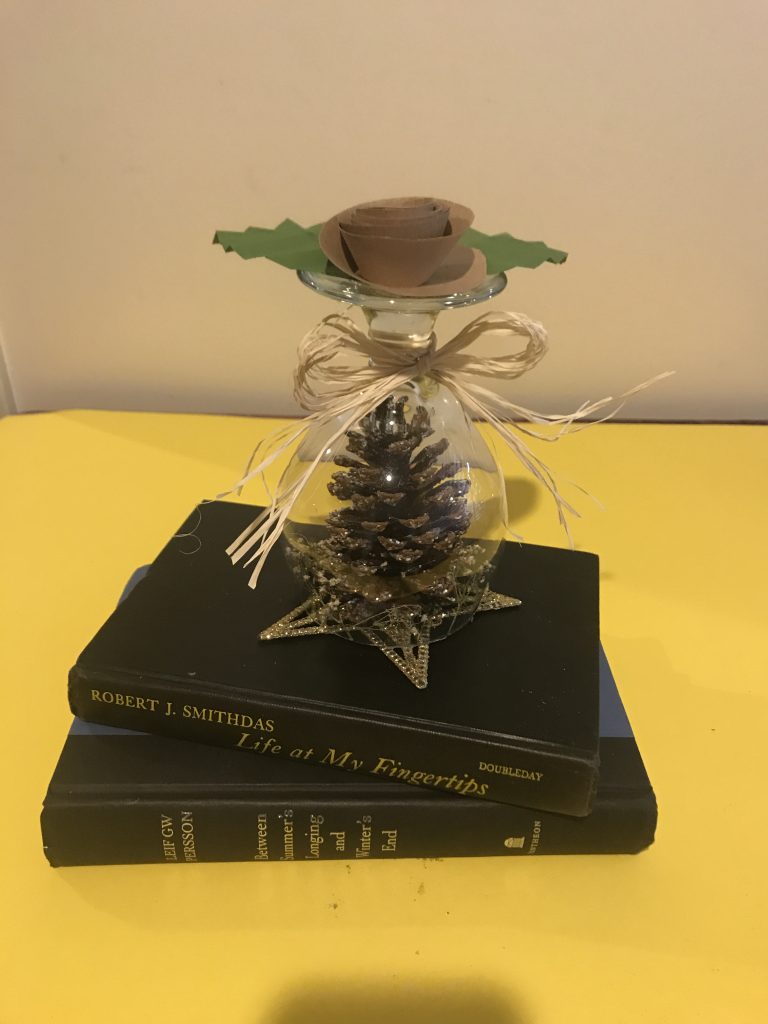
My Toastmasters club is celebrating its 85th anniversary this year. The party is this week, so I volunteered to do the centerpieces for the tables.
I had planned to use real flowers, probably roses, to put under the wine glasses/goblets, but then I discovered pinecones with glitter in the Christmas section of the 99 Cents Only store, and I decided pinecones would be much easier.
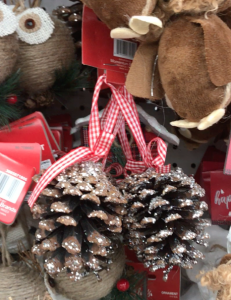
No worries about them wilting. Two pinecones for 99 cents was great. The light reflecting off the glass and the glitter of the pinecone looks beautiful.
Next, I needed to decide what to put on top of the upside-down glass. Perhaps a real rose would look pretty. Then I went on YouTube and looked for a tutorial on how to make a paper flower. I found a super easy paper rose.
That video didn’t have leaves to go with the paper rose, so I found another tutorial showing how to make paper leaves. The leaves in that tutorial were jumbo size, bigger than the crafter’s hand.
I went with the same idea, but scaled it down to using a piece of 4×4 inch card stock.
Each centerpiece will be set on two stacked books. I took the covers off some of my hardback books, but I didn’t have enough, so I bought 11 more at the Goodwill for less than $10.
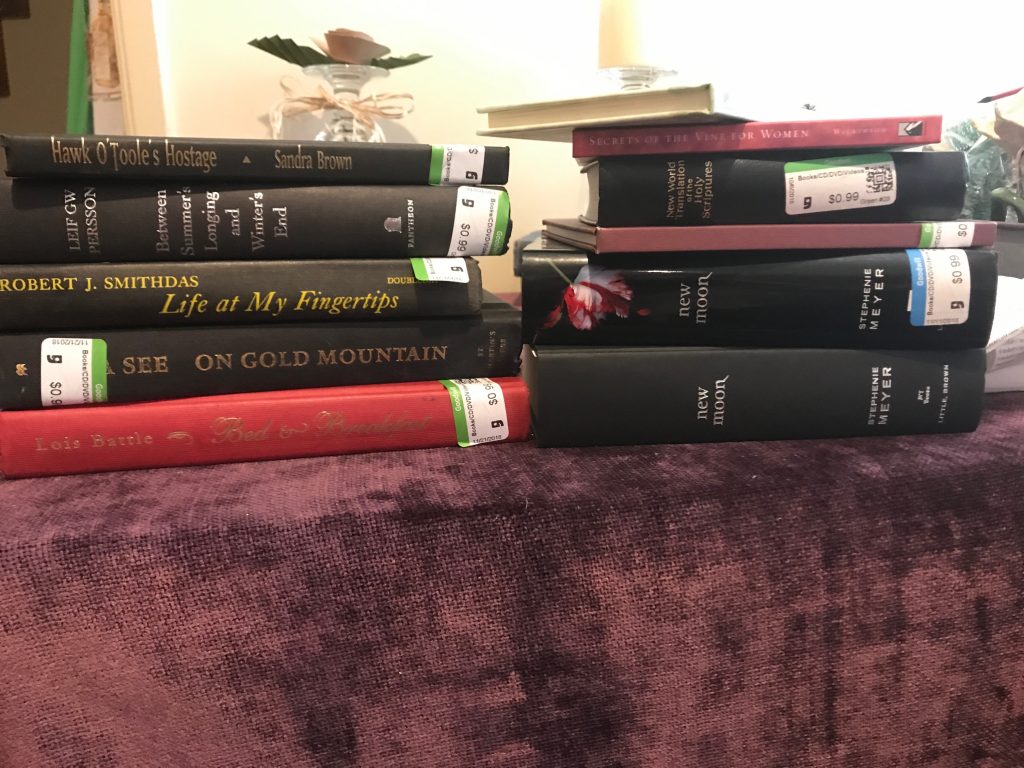
These are the books I already had:
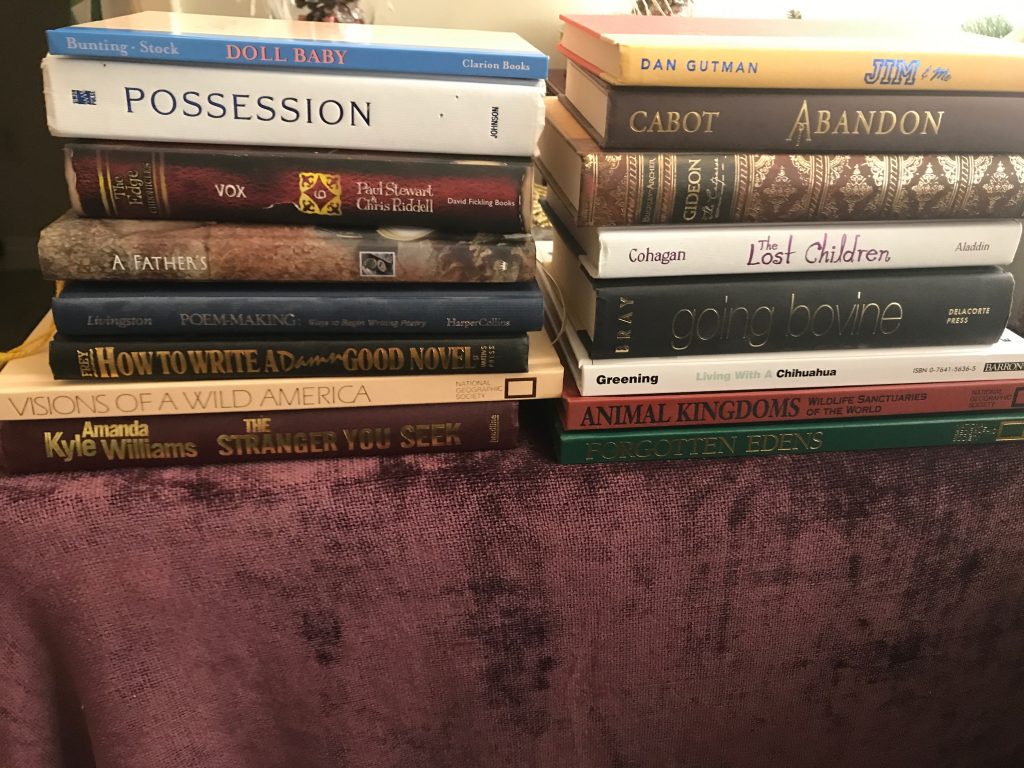
Got all the books I’d need, so now it was just a matter of finalizing the details.
Both the paper rose and leaves were quick and easy to make. Wow! But perhaps the women planning the 85th celebration party would rather have a candle as the topper, so I bought candles for 99 cents each and sent them this picture to decide which centerpiece they preferred.
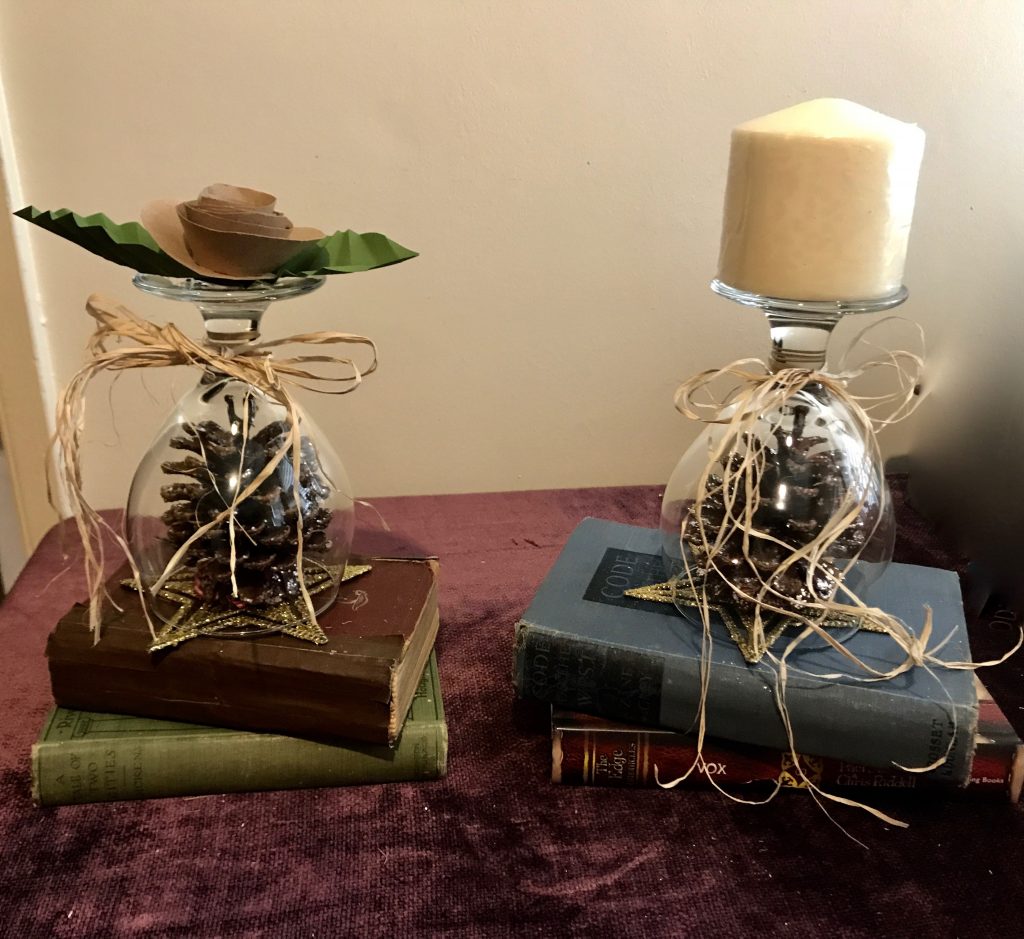
They like the paper flower better, so I got to work.
For the bottom of the centerpiece, I thought a nice cardboard coaster would work or even a piece of heavy card stock, just to hold the pinecone in, but thanks to the holiday season, I found a pack of five glitter star ornaments for 99 cents. They’re flat, so I decided to use those.
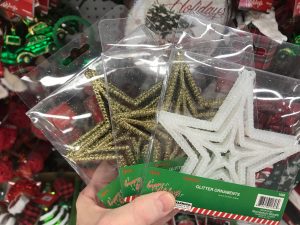
The star ornaments worked out great.
While I was at it, I decided to make a tutorial. These centerpieces are so quick and easy, I thought other people might want to make them, so I uploaded the tutorial to YouTube:
If you want to make one, here’s what you will need:
- Wine glass or goblet
- Pinecone that fits in the glass
- Piece of 8×8 inch card stock in the color you want your flower.
- Two 4×4 inch pieces of green card stock for the leaves
- Rafia
- Flat ornament or cardboard coaster or heavy piece of card stock for the bottom
- Tacky glue
- Scissors
- Baby’s breath flowers (optional)
- Candle if you choose to use it instead of making paper rose
There are so many options to customize this centerpiece. Have fun, and let me know how yours turned out.
What are your thoughts? Do you like DIY projects? Do you like the paper rose or the candle version better? Or neither? I’d love to hear from you.
If you enjoyed this post, please subscribe. You’ll find the subscribe box near the top of the sidebar.
Thanks for stopping in!


These are so cute! They would make great, frugal decorations for a wedding, especially since the glasses can be re-used! Going to keep this in mind when the time comes to plan my daughter’s wedding.
Thanks, Jennette! Yes, they are so frugal and simple. And the glasses can be recycled, yes, so cool! Wedding expenses add up fast, so keeping costs down in any little way helps a lot!
Very lovely, and so unique!!! You did an amazing job!
Aw, thanks, Pam. I’m happy with the way they turned out!